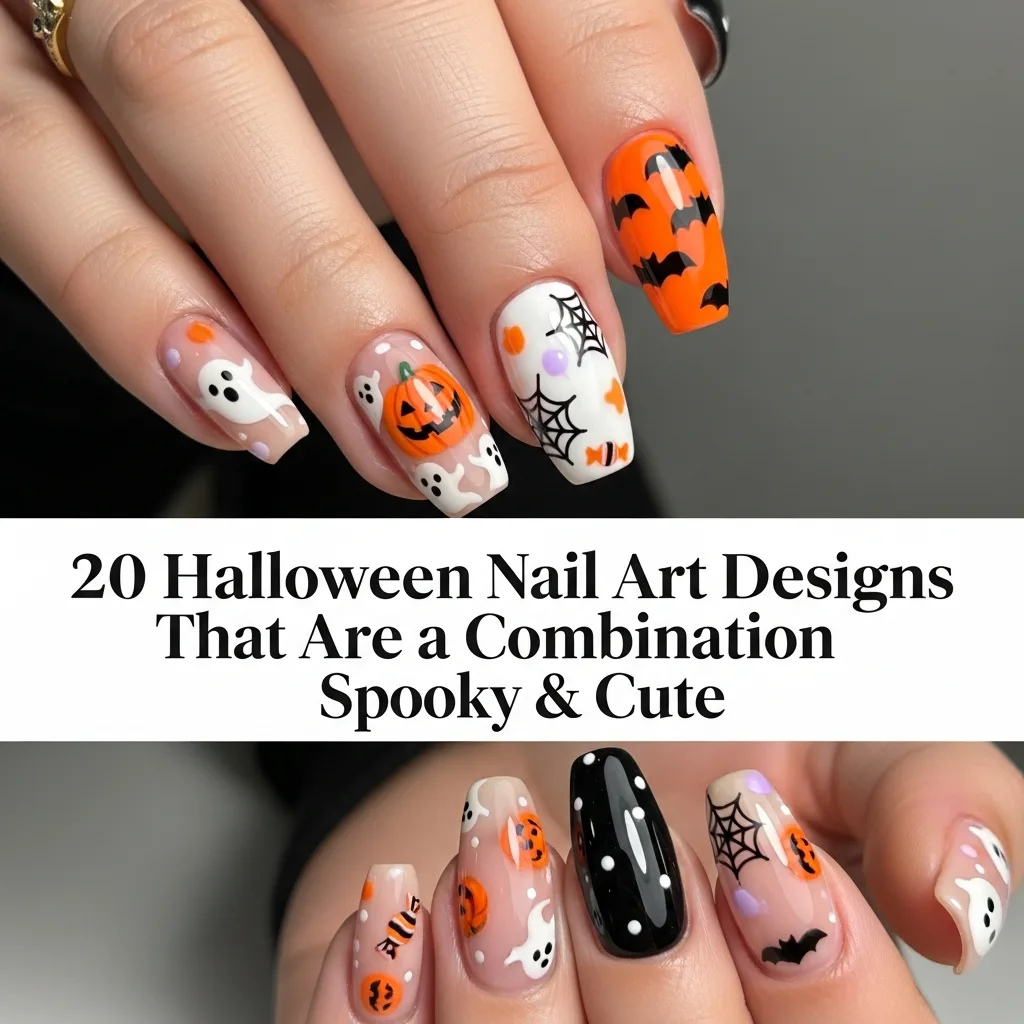
20 Halloween Nail Art Designs That Are a Combination of Spooky & Cute
Are you looking for some creepy yet not-too-scary Halloween nail art? Well, you are in the right place. This year, nail artists across the world are looking for some images that have a mix of creepiness and cuteness. Whether you’re attending a costume party, trick-or-treating with kids, or simply marking this time of the year in style, with these designs, your nails will become a great party accessory. We present to you 20 of the best Halloween nail art designs that come in balancing between creepy and cute.
Table of Contents
Classic Halloween Characters with a Cute Twist
Friendly Ghost Faces
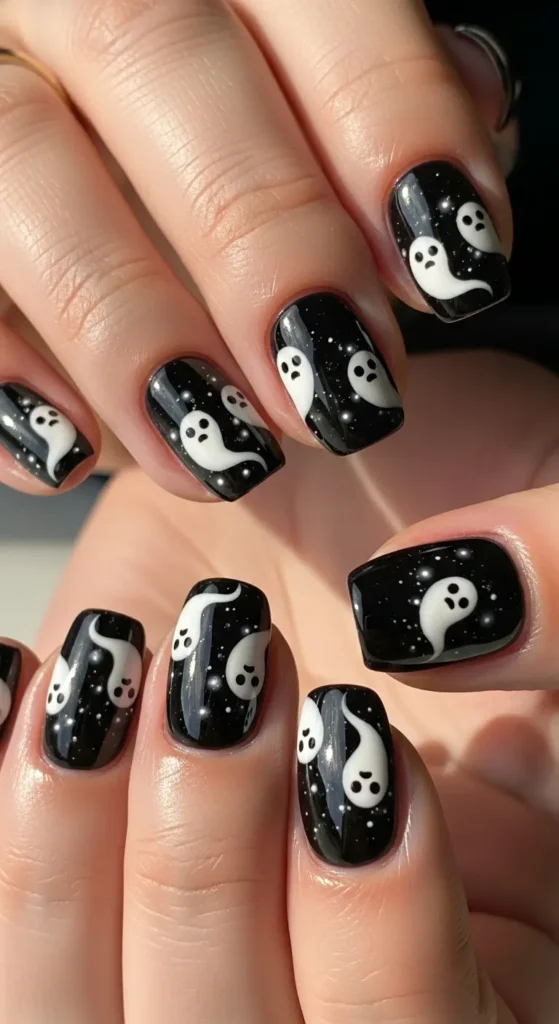
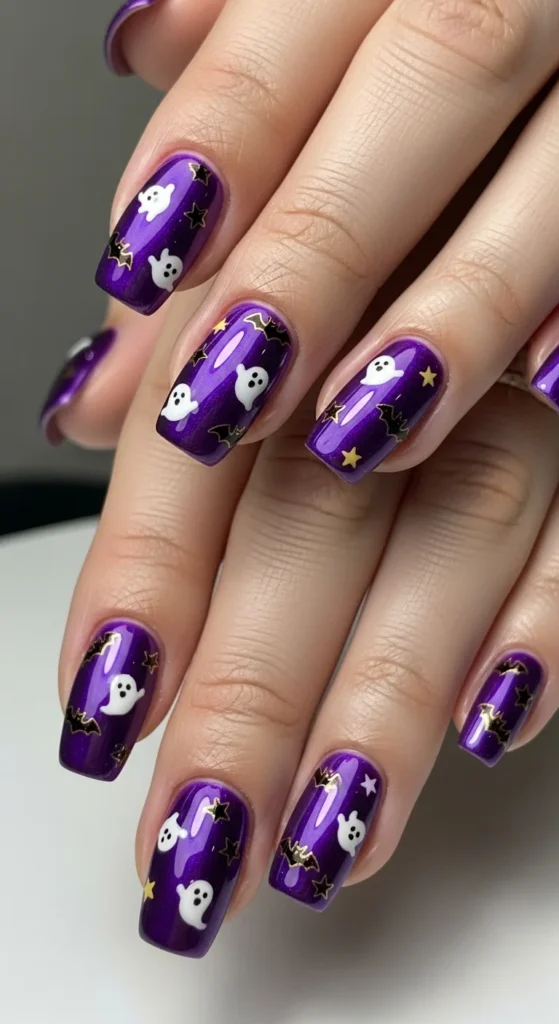
Painting simple white ghosts with smiling faces on a black or purple background is a great way to easily capture Halloween decor without any scary elements. These cute ghosts look like they belong in a lawyer’s office, but painting them only needs a dotting tool and a steady hand.
- Tip: Dip a toothpick in white nail polish to draw a ghost outline, and use a bobby pin tip to draw black dots for the smile and eyes.
Smiling Jack-O
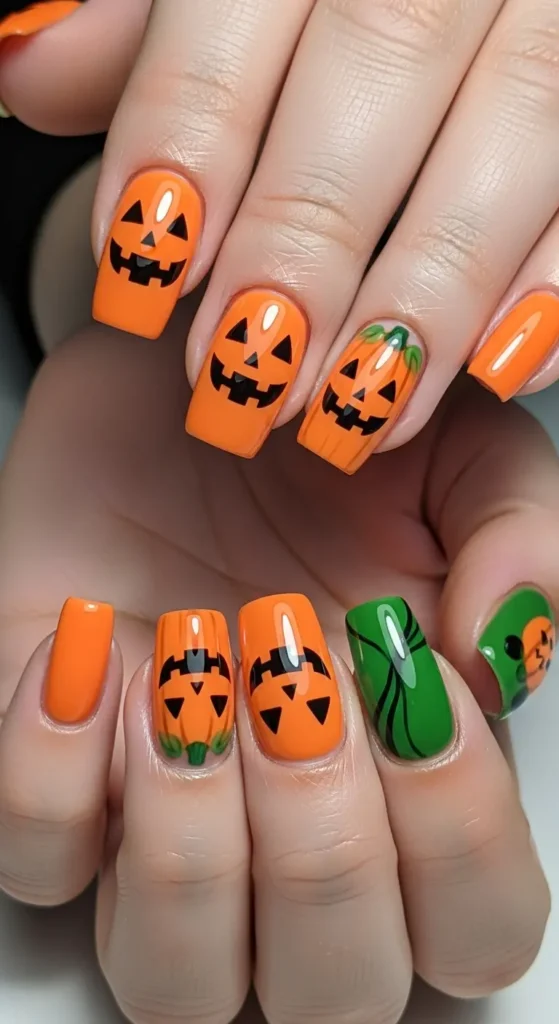
Orange pumpkins decorated with cheerful carved faces are now in the palm of your hand. Paint orange nails, add triangle-shaped eyes, and a zig-zag smile using black polish.
- Tip: To finish a pumpkin design on one of your nails, paint a small stem at the tip of the nail in the form of a small curved line. Add a touch of green to make it a stem.
Cute Black Cats
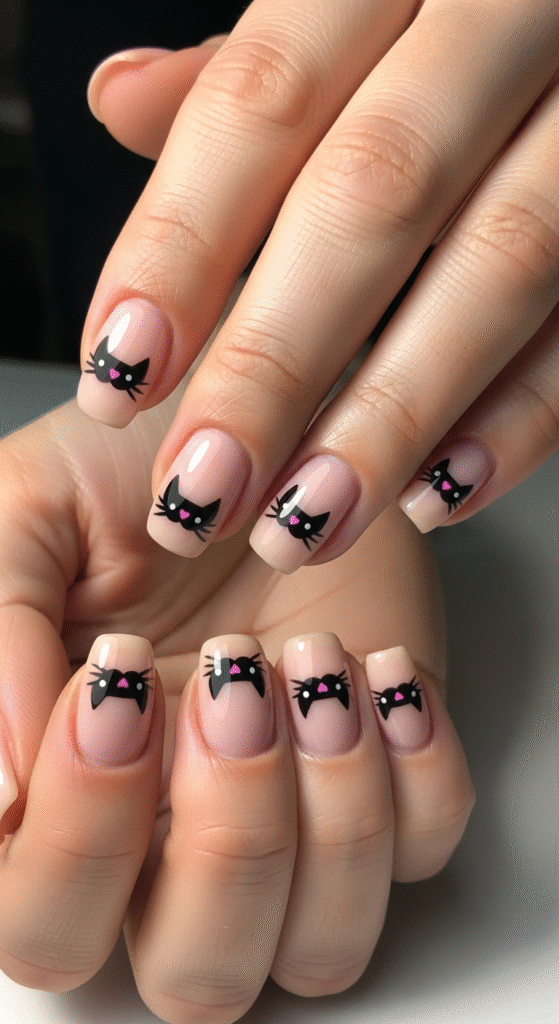
Silhouettes of black cats with pink-colored noses and ears will bring a touch of playfulness to a Halloween manicure. They will look great against a nude, white, or pale gray background.
Paint the silhouette of a cat with a small brush and then draw whiskers using a piece of thread dipped into polish.
Baby Bats
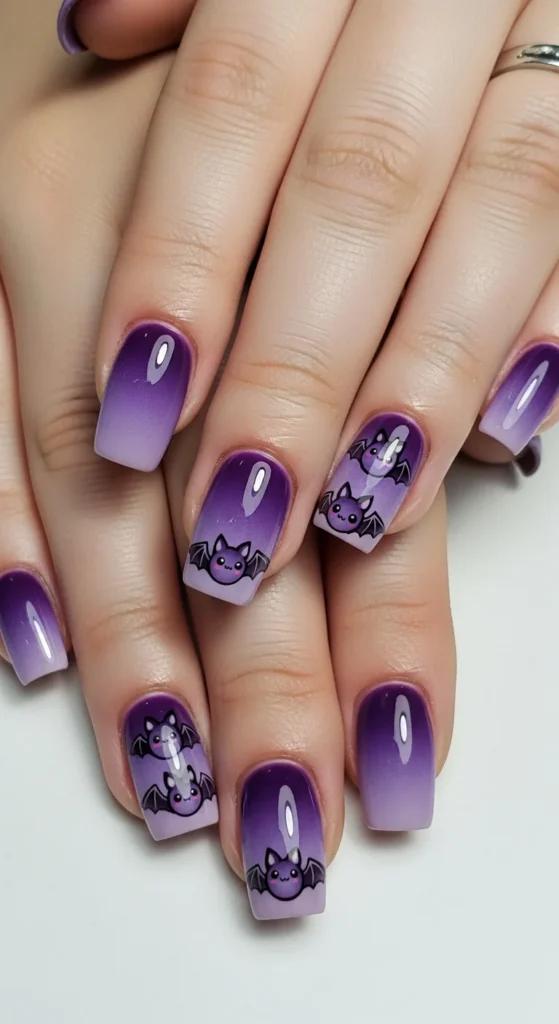
Small black bats with large heads and small wings are cute rather than scary. Place them scattered across a
- Tip: Create a simple “M” shape to represent wings, as well as a small head with two small triangular ears—yes, this is simpler than it looks!
Kawaii Frankenstein
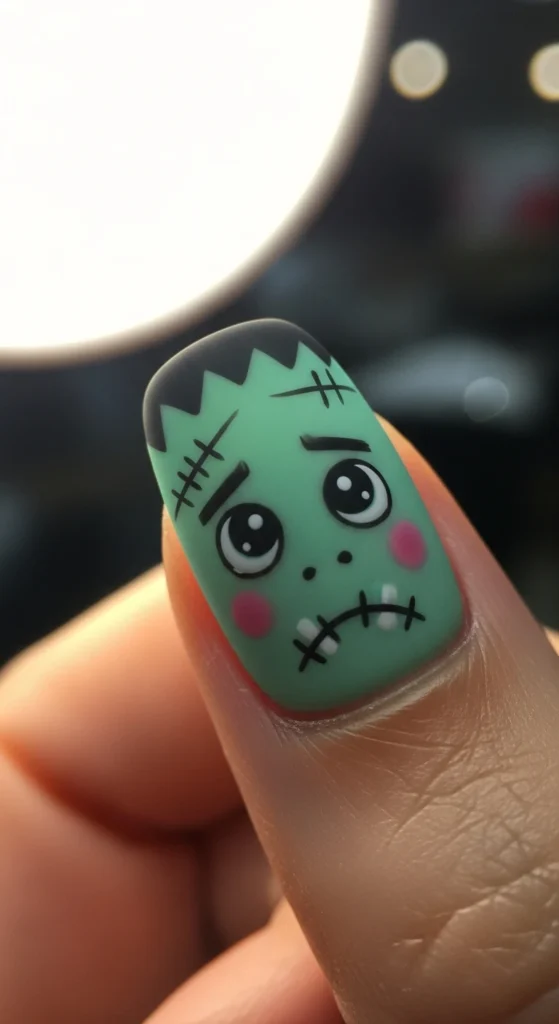
Make Frankenstein’s monster cute with blush on the cheeks, big eyes, and a stitched-on smile on a base of mint green color. Add two black “bolts” to either side of the head for authenticity.
- Hint: Use a small brush dipped in pale pink polish to create the blushing effect.
Spooky-Sweet Hy
Candy Corn Gradient
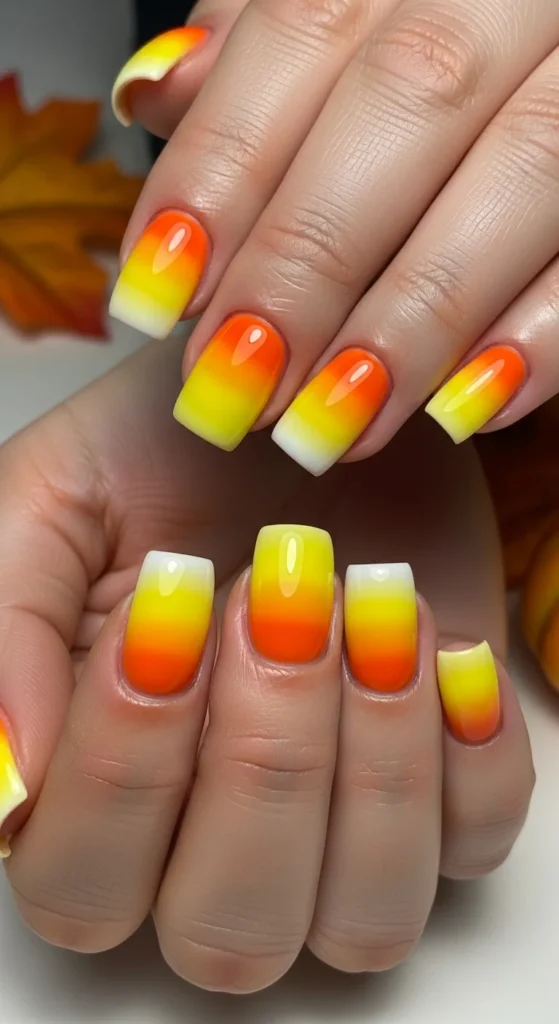
This classic Halloween candy is so easily adapted into a nail design, with the use of orange, yellow, and white color blocking. This is a great example of a gradient that looks complicated but is, in fact, simple to achieve.
- Tip: To blend colors where they meet, use a makeup sponge.
Elegance of Spider Web
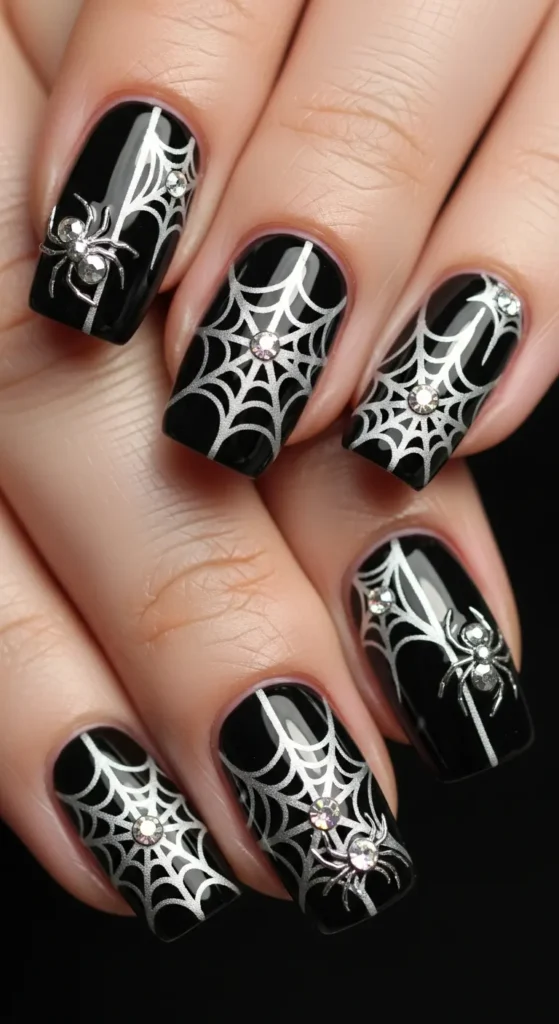
A spider web done in white, silver, with black nails is elegant and spooky. Add a rhinestone spider if you want added glamour.
- Tips & Variations: Paint the spider web with a striping brush to form a plus sign, connecting the symbols in a semicircle.
Mummy Wraps with Googly Eyes
White band-aid strips with cute googly eyes peeking out help to make mummy nails. Asymmetrical mummy wrapping is great to cover any irregularities in steps.
- Tip: White nail striping tape will give ideal mummy bandages, or freehand in a criss-cross pattern with white nail polish.
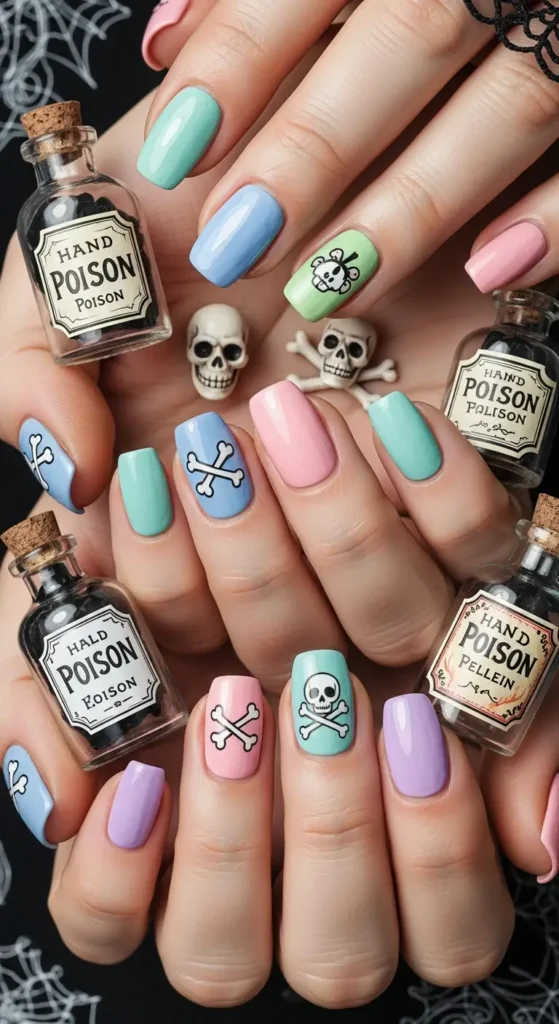
Bottles of Poison Pastel
Soft pastel colors with small black drawings of “poison” bottles will give a vintage Halloween display. Add small skull and crossbone symbols to complete the look. look at this…
- Tip: Draw the poison bottles as rectangles with triangular lids to give the display a handmade feel.
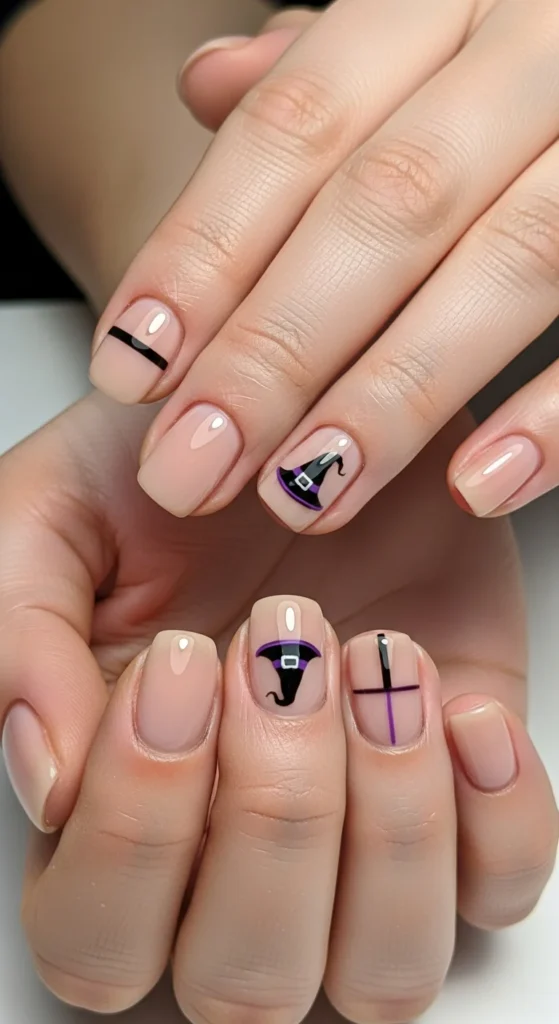
Witch Hat Accents
Small black witch hats with colorful bands are great designs to use as accent nails. They consist of simple geometric shapes that are great for Halloween designs.
- Tip: To draw a witch hat design, use a triangle and a thin oval to draw a brim with a purple and orange band.
Minimalist Halloween Magic
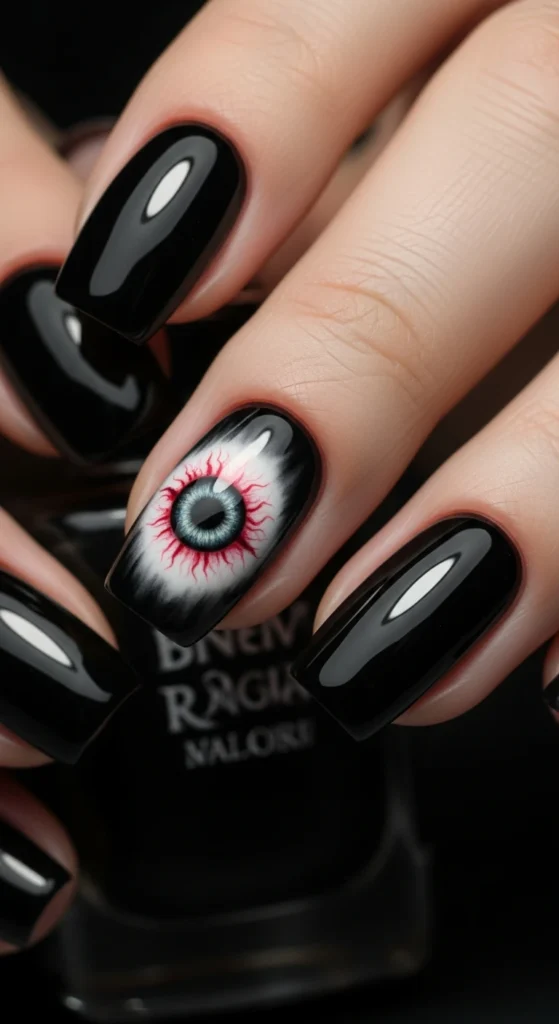
Single Spooky Eye
A small eye on the accent nail creates a sort of creepy yet beautiful design. Let the other nails stay painted black or deep purple.
- Tip: You can paint a white oval, a colored iris, a black center, and a small white dot in the center of that one.
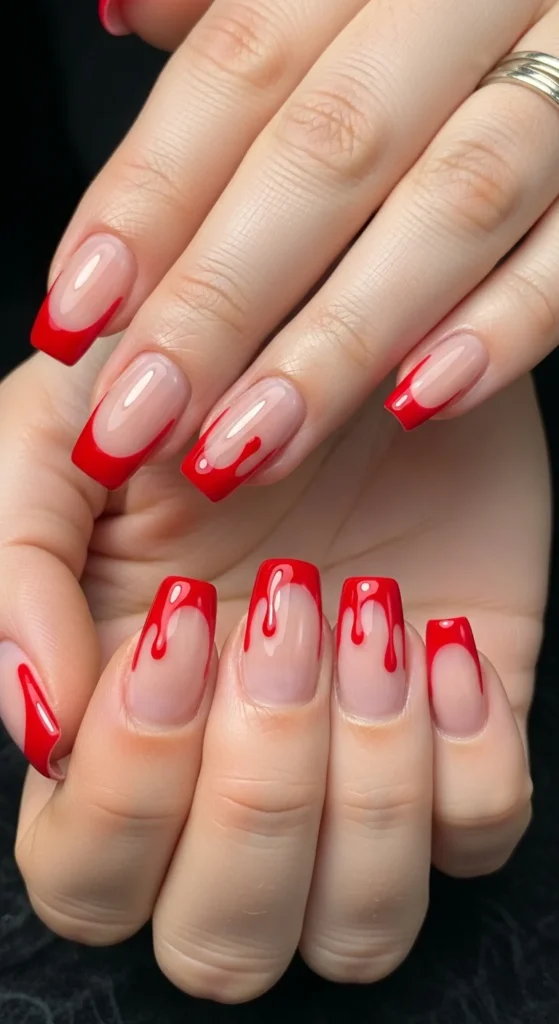
Tips of Dripping Blood

A “dripping” red tip is actually quite stunning as a French tip manicure trick. Give it a sophisticated touch with a nude polish base.
- Tip: Paint red polish on the tips, then take a toothpick and draw a few drips of polish downwards before the polish dries.
Tiny Tombstone Silhouettes
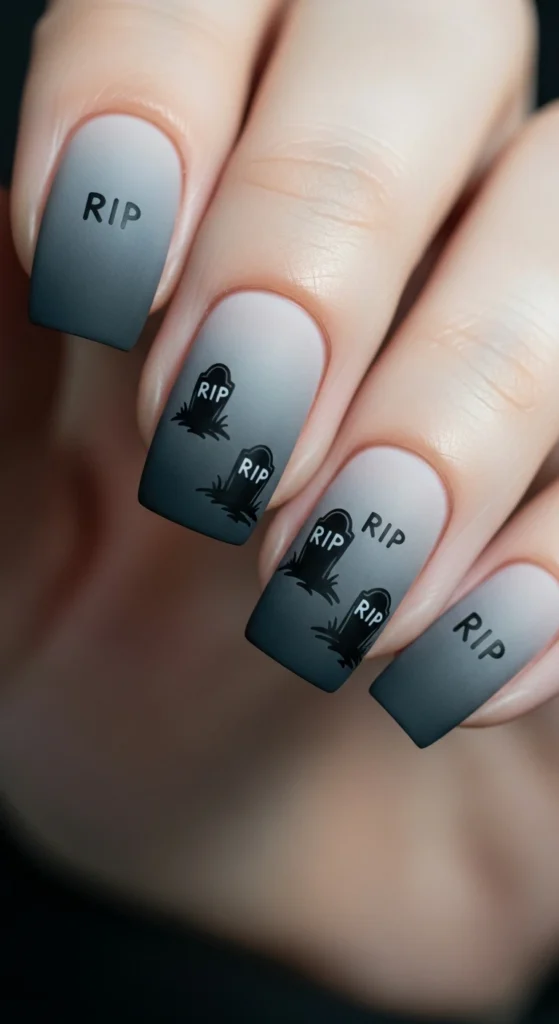
Small gray gravestones on one or two accent nails keep the design subtle yet seasonal. Add small “RIP” lettering details.
- Tip: Use a makeup sponge to apply a gray background gradient first, then paint small gray gravestones in the shape of rounded rectangles.
Moon Phase Design
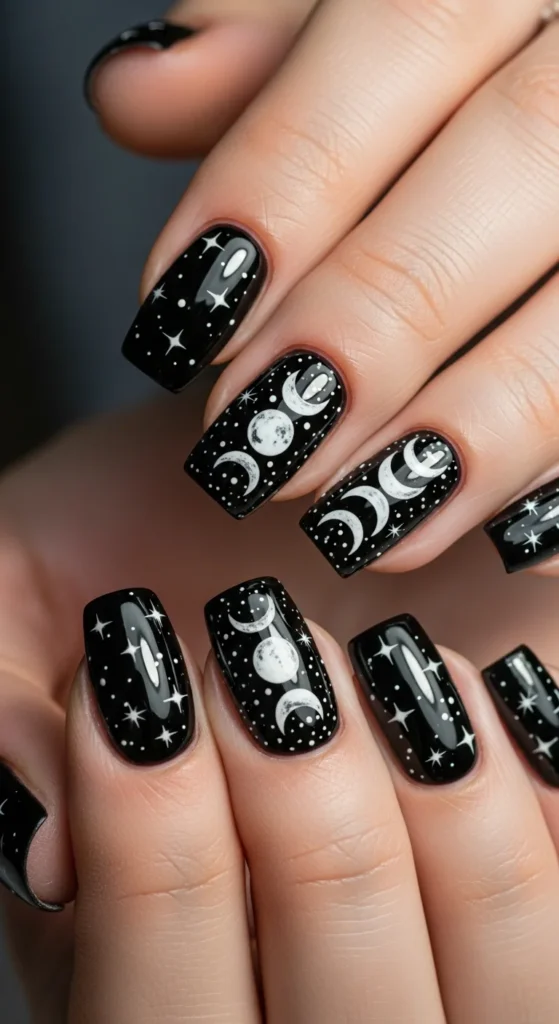
A sequence of phases of the moon upon your nails brings a celestial beauty together with the Halloween theme. Paint white/silver on a black/blue background.
- Tip: Make a crescent by painting a circle, letting it dry, then filling one-half of the circle with a base color.
Single Statement Spider
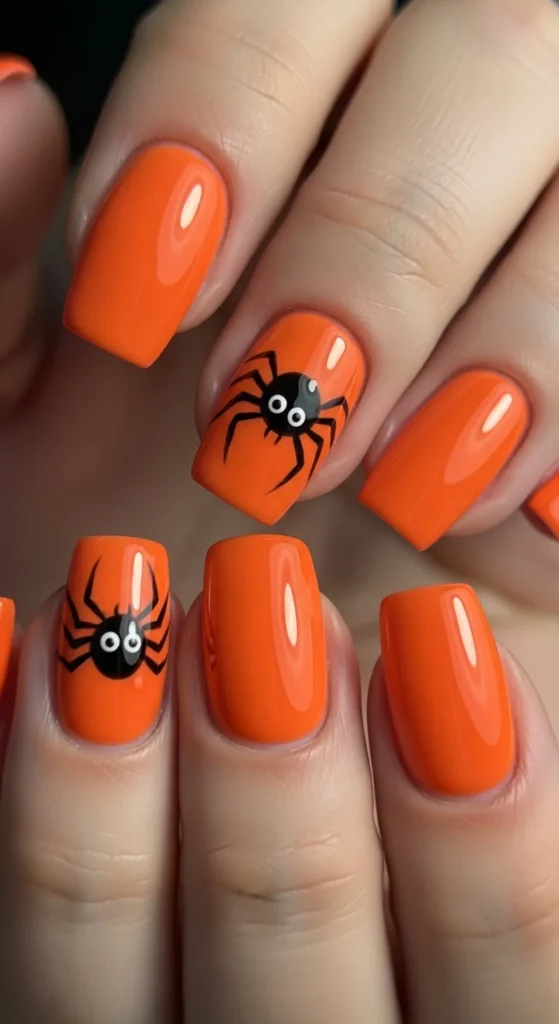
A believable spider or a cartoon spider on one of the fingers of the ring hand is a great way to draw attention to the nails without overdoing the look. Paint the rest of the nails in matching solid colors.
- Tip: Body = small circle; eight skinny legs; finish with two tiny white dots, and voila! You have a cute spider!
Glam Meets Spooky
Glitter Pumpkin Patch
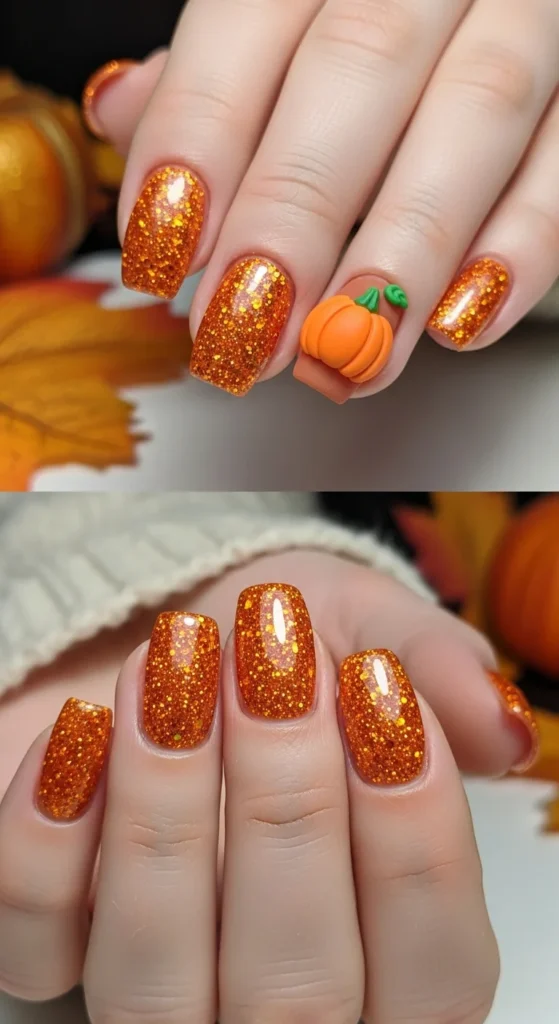
Glitter pumpkin patch orange nails with one or two painted pumpkin details—a very glamorous way to add some holiday flair. It’s the glitter in this nail design that makes it so adorable. DIY
- DIY Tip: Paint orange glitter polish as the base, then paint simple pumpkin silhouettes on the accent nails in matte orange.
Holographic Haunted Sky
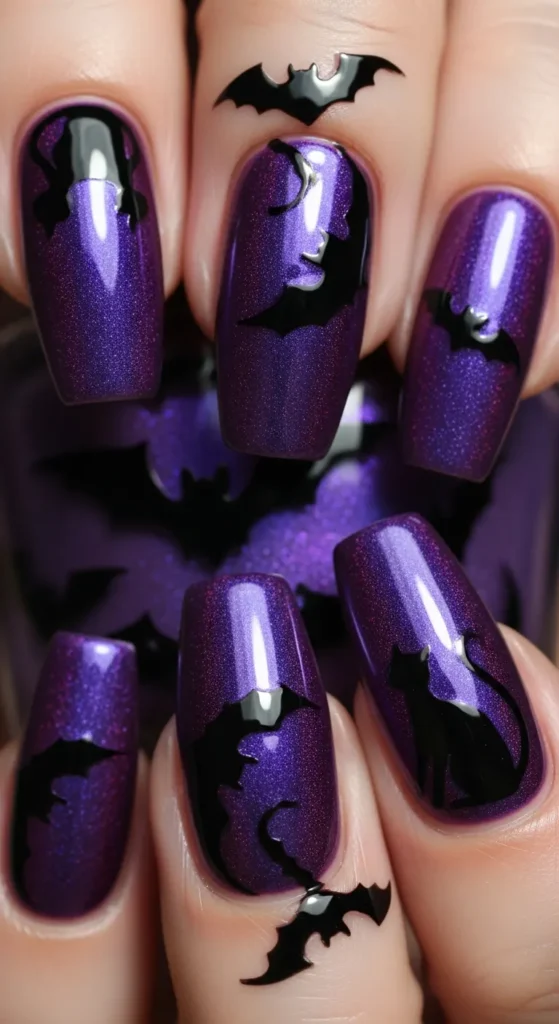
Holographic purple or black polish gives a striking base to simple silhouettes of Halloween-themed objects. It’s this color-changing feature that automatically gives a touch of drama.
- It’s holographic polish where the magic happens—merely add basic black silhouettes of objects such as bats and cats.
Starry Night with Witch Silhouette
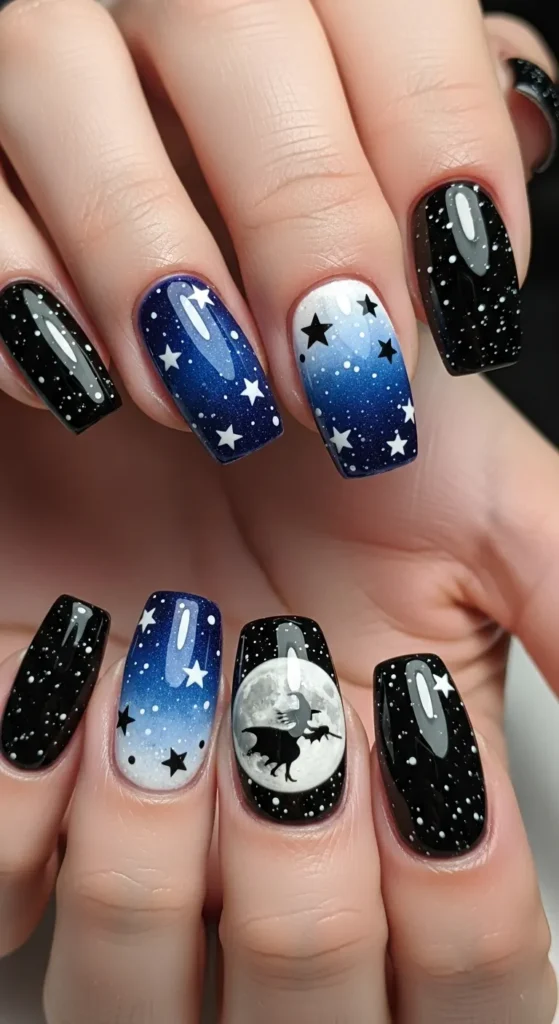
A night sky with stars forming a gradient, with a witch flying across the moon, is simply magical for Halloween. This artwork is intricate-looking yet involves simple techniques.
- Technique Tip: Apply a black to deep blue gradient, white dots for the stars, and a white circle with a small black witch silhouette across the moon.
Chrome with Creepy Accents
“Metal chrome nails in purple, green, or black that feature small Halloween decals offer a great combination of modern and holiday-themed glamour.”
- TIP: “Use chrome powder on gel base paint, topped with press-on Halloween stickers/decal decorations and finished with gel top coat.”
Ombre Sunset with Bats
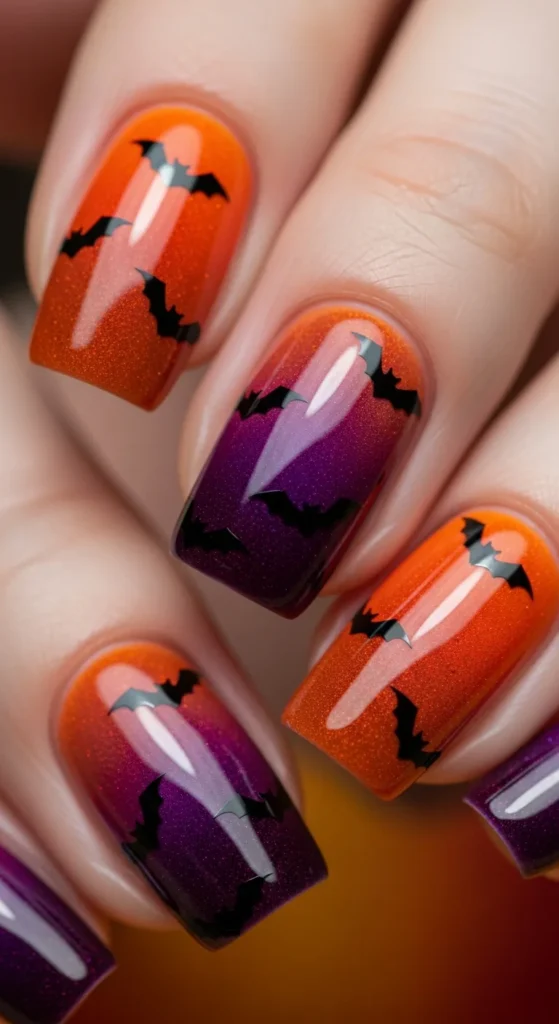
Orange to purple ombre makes a beautiful Halloween sunset, adorned with small black silhouettes of bats flying across. This is a great way to depict the seasons.
Technique Tip: Apply orange, pink, and purple makeup using a makeup sponge. After full drying, apply small silhouettes of bats using a detail brush.
Quick Tips for Long-Lasting Halloween Nails
There are Making beautiful Halloween-themed nail art is only the tip of the iceberg-getting that artwork to stick around until the party is over is the trick of the trade.
- Prepare your nails first by cleaning them with rubbing alcohol to remove oils prior to base coat application. Apply a
- good top coat, which will double the life of the artwork and prevent any chips from forming. For small details in artwork, a nail artwork brush is ideal; however, a few tools found in most homes will suffice, such as bobby pins and toothpicks.
- Let layers dry completely by bearing in mind that patience is a virtue that leads to straight artwork that won’t smudge. Apply a layer of top coat covering the edges, then change the top coat solution every two days.
Final Thoughts
These 20 Halloween nail art designs demonstrate that scary and cute can be enjoyed hand in hand-or rather, tip in tip! As a nail artist or a beginner touch-up artist, one of these designs will help ensure that this Halloween is a look to remember. Begin with simpler designs, such as ghost portraits or a candy corn ombre, before eventually moving on to something a little more intricate, such as a haunted horizon or chrome details. What is great about creating Halloween nail artwork is that a few flaws will only add to the homemade, seasonal fun. So dig out those fall-themed polish colors, locate a few tools around the house, and get creative!