20 Halloween Nails You Won't Want to Miss This Year
Halloween is no longer just candy and costumes—it’s now officially a fashion moment, and your nails are the perfect canvas upon which to stamp your spooky style. Trends for the Halloween season this year blend traditional horror with modern sensibilities to produce designs that are quietly unnerving, boldly campy, and everything in between. Whether you’re hitting a costume party or just looking to get in the holiday mood, these 20 nail art ideas will have your tips Instagram-ready and totally in the holiday spirit.
Table of Contents
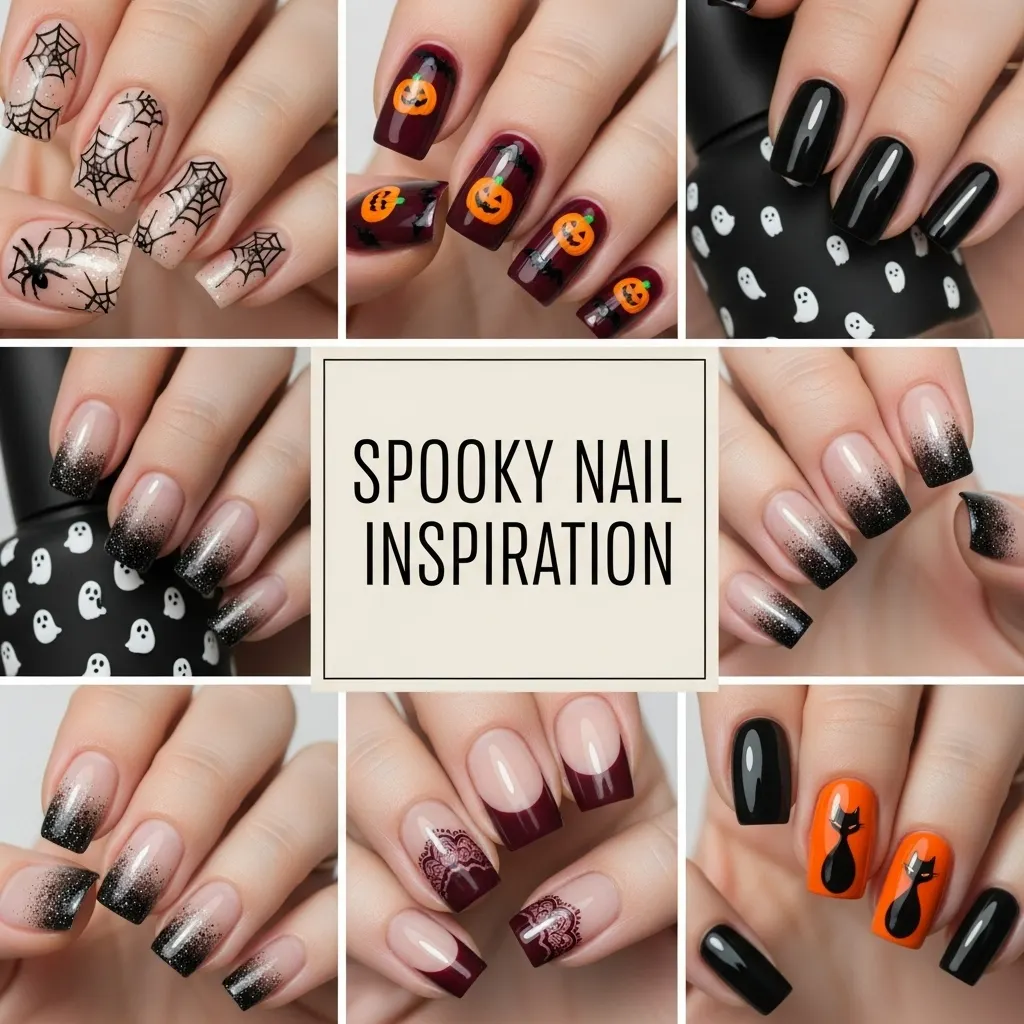
1. Elegant Black Cat Silhouettes
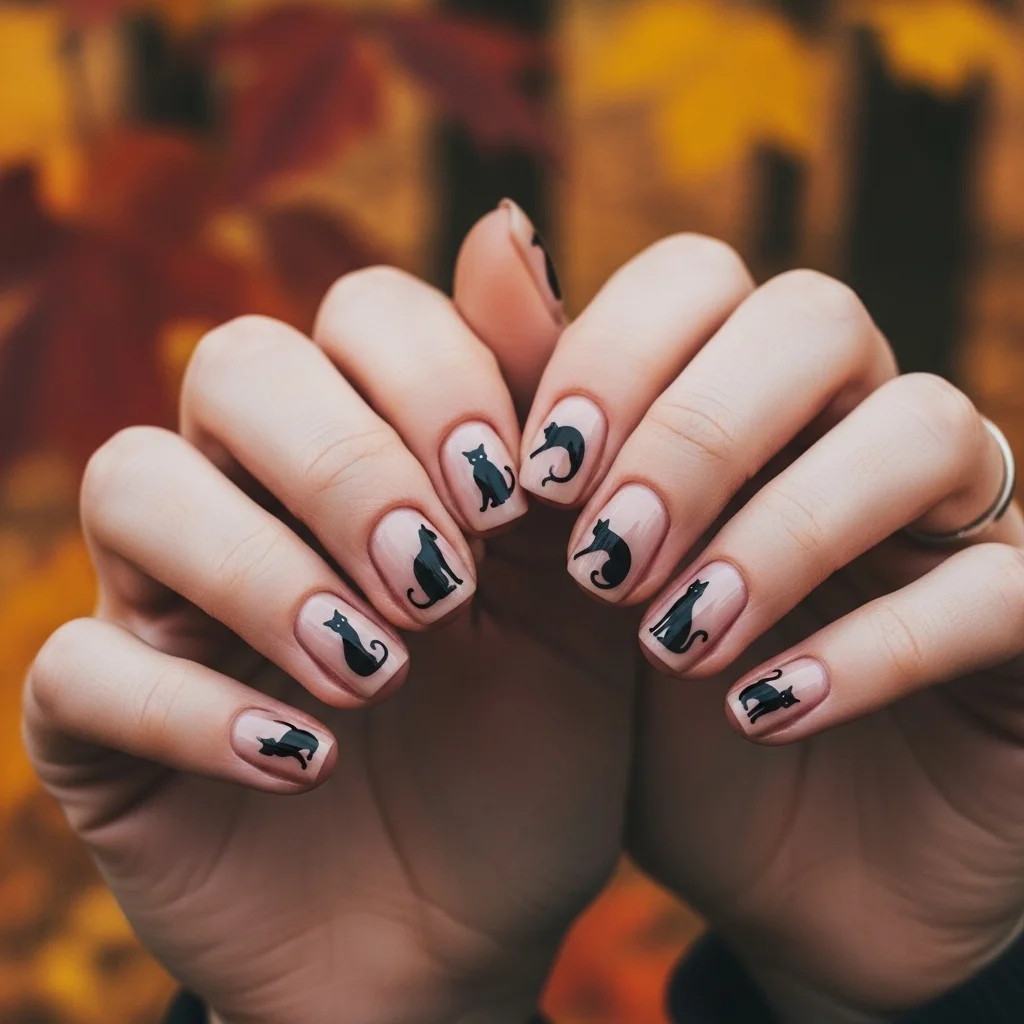
Start with a nude or pale pink base color for contrast. While dry, with a little nail art brush and a stroke of black polish, paint neat cat silhouettes on accent nails—typically your ring fingers. The secret is to keep the shapes readable and neat: pointed ears, curved backs, and long tails. Add a small white dot of polish for the moon, and you have a subtle Halloween manicure for any occasion. This is a simple design that takes about 20 minutes to complete.
2. Dripping Blood French Tips
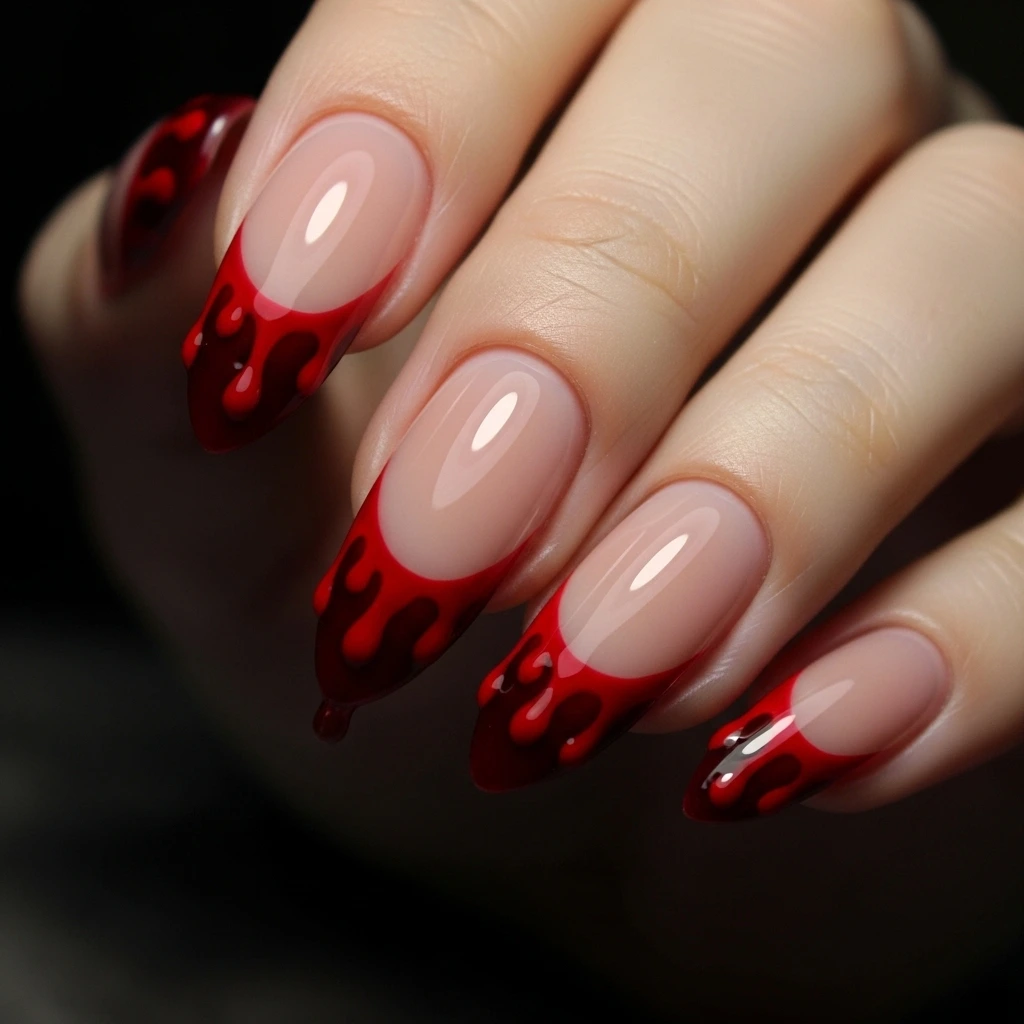
Employ your base color—white or nude is best for highly dramatic contrast. On top of this, once it’s fully dry, paint a darker red polish that is more fluid in consistency. Begin at the end of every nail and apply random drips downwards with a toothpick or a small brush. The secret is to randomly change the thickness and length of drips so that it appears as if by happenstance. Allow gravity to do its job by holding your finger very high because the polish will naturally fall downwards. Top with a shiny top coat for a wet, newly bled effect.
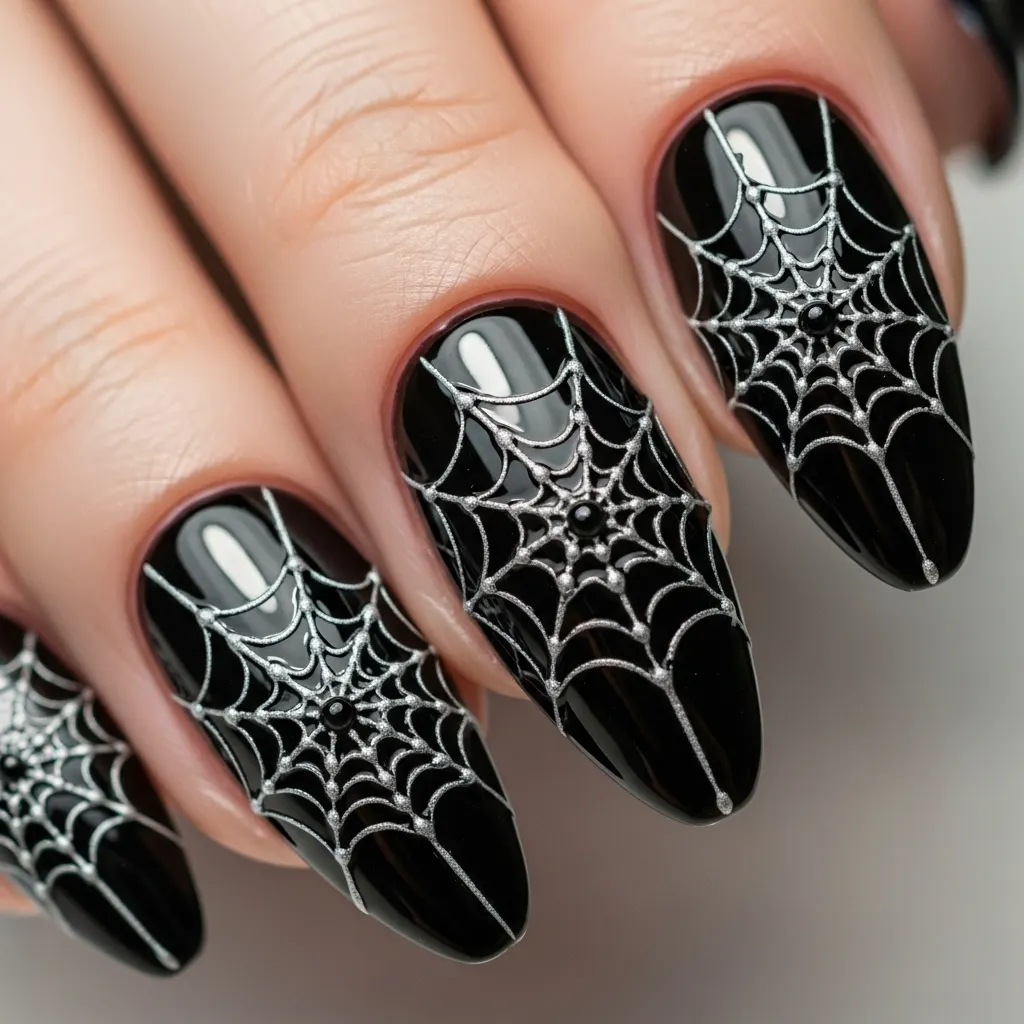
3. Glossy and Matte Black Spider Webs
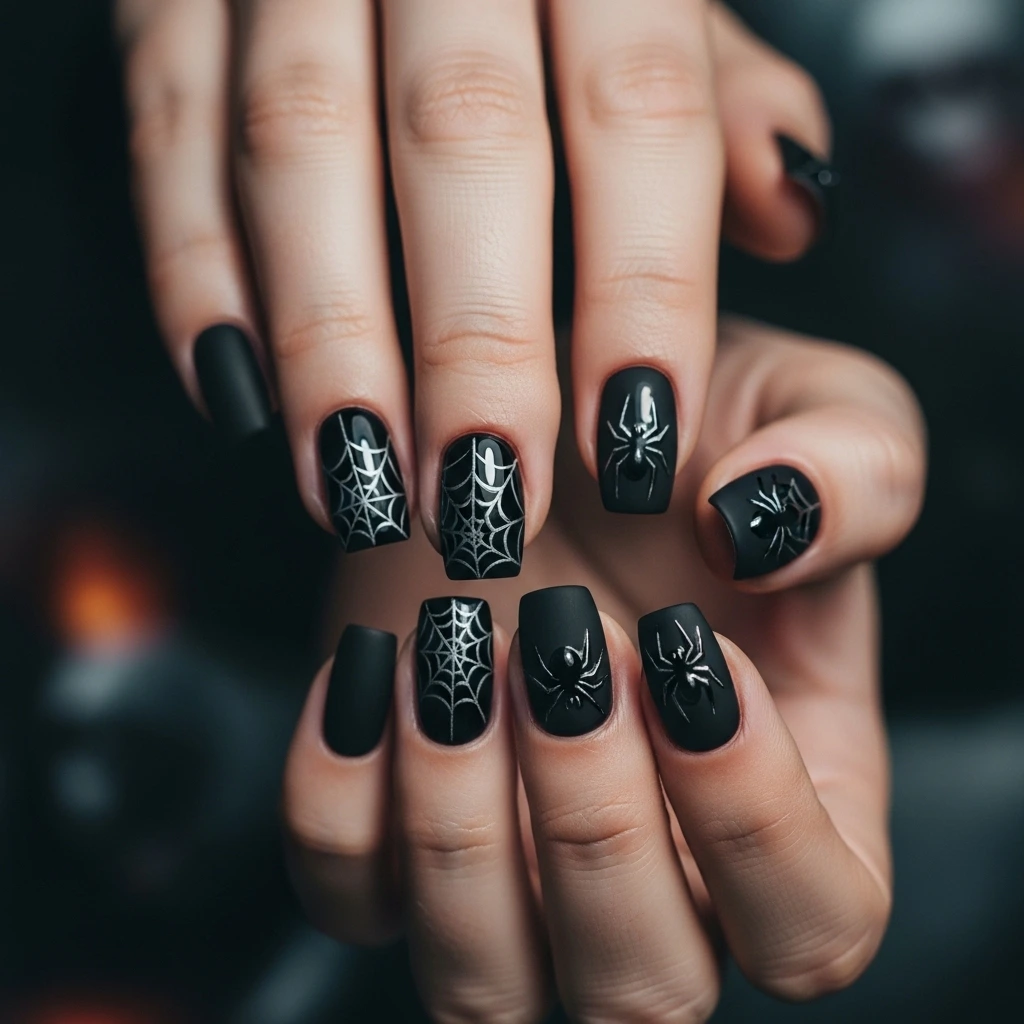
Paint all the nails black with matte top coat. When it is dry, paint light spider webs in thin brush strokes using a clear, glossy top coat on one or two accent fingers. Start from the corner and block out radiating, converging lines outwards, and then fill in using curved lines to give a webbing effect. The shiny web on a matte black background creates an understated yet dramatic three-dimensional effect that catches the eye.
4. Candy Corn Gradient Ombre
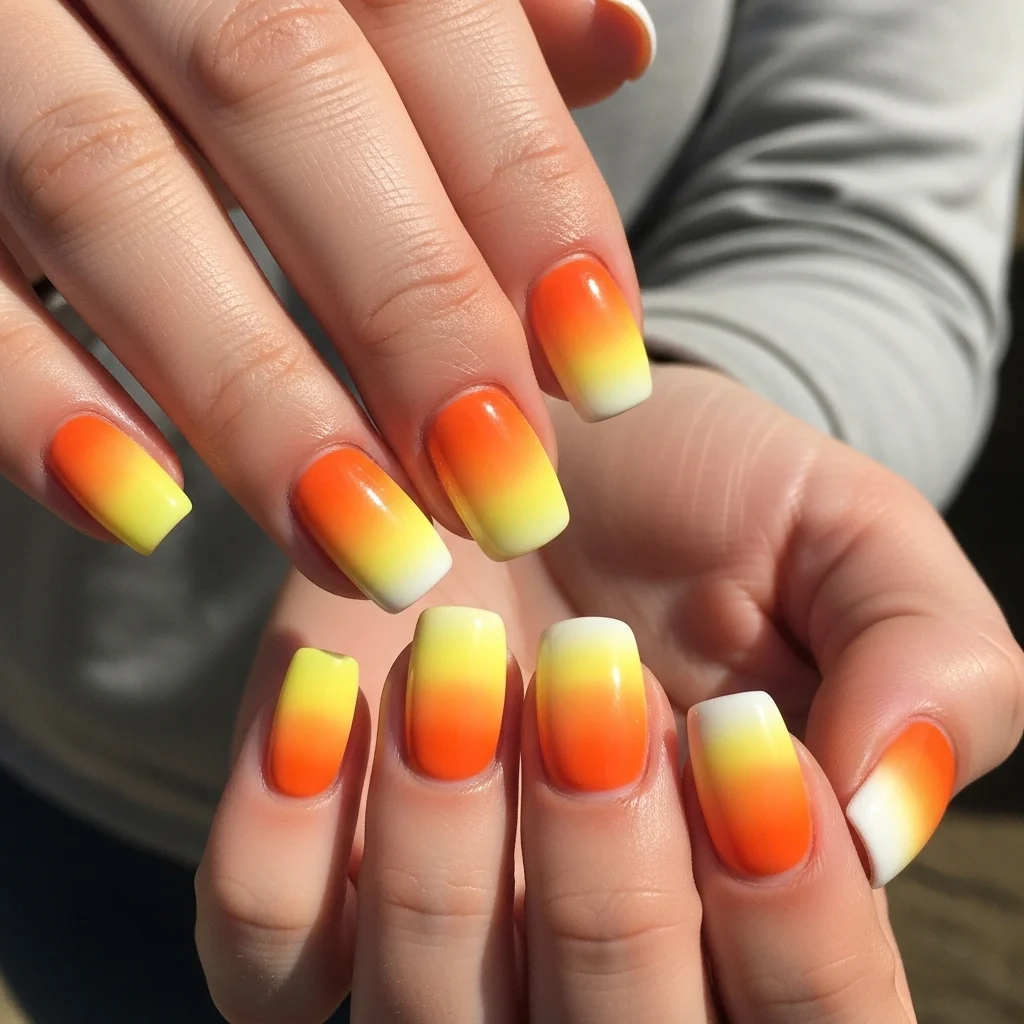
Use smooth gliding with a make-up sponge. Paint the three colors in horizontal stripes on the sponge and bounce onto each nail in a smooth bouncing motion. Layering is achieved by applying again and again, with each coat drying slightly before the next one can be applied. The outcome is a white, functional costume appropriate for daytime Halloween parties and trick-or-treating with children.
5. Ghostly White with Floating Spirits
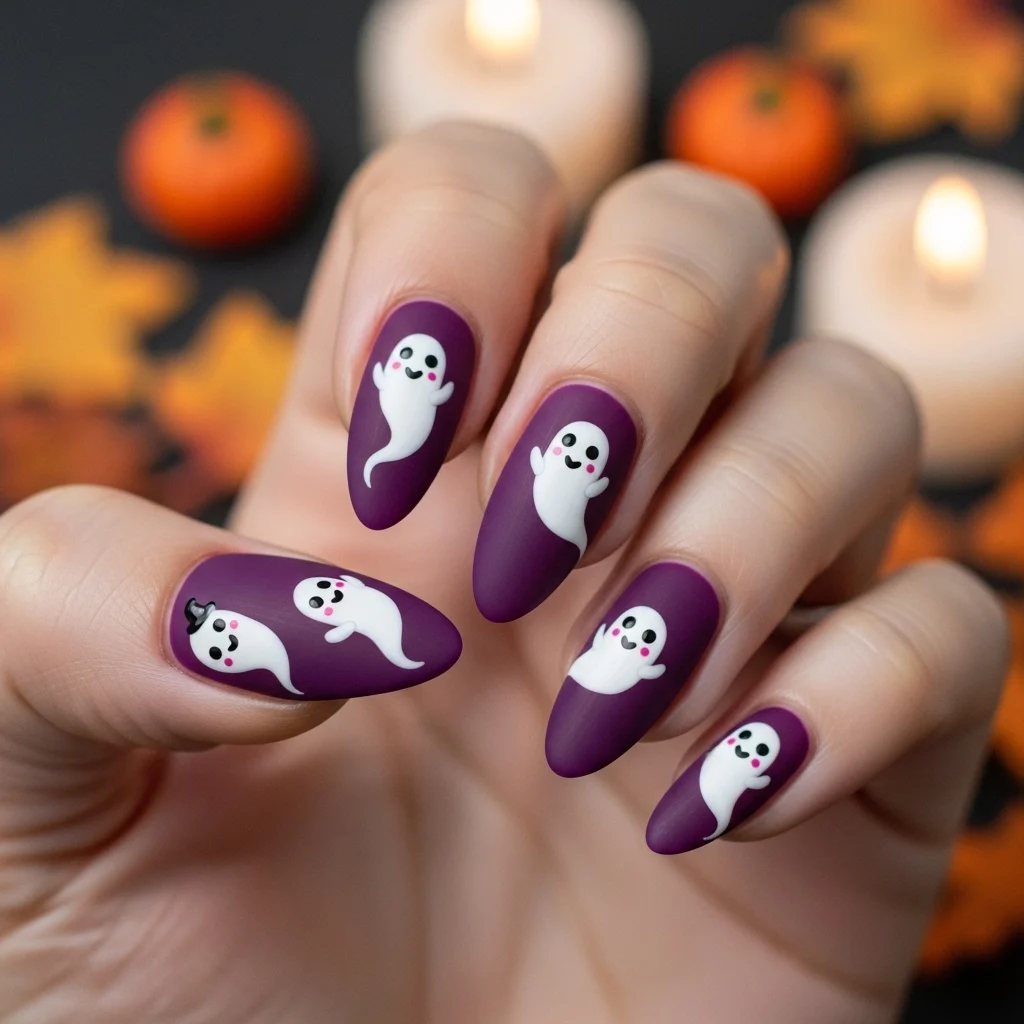
Color white ghosts drifting around on a dark purple or black background. Once your base coat is dry, color the ghost bodies on with a dotting tool or bobby pin that has been covered in white nail polish—big dots for the body with little trailing tails that swirl slightly. Once dry, paint on very small black dots for eyes using a toothpick or the smallest nail art brush you can find. Some of the ghosts even sport teeny “o” mouth silhouettes for personality. This adorable face adds Halloween playfulness but not so much terror.
6. Chrome Pumpkin Accents
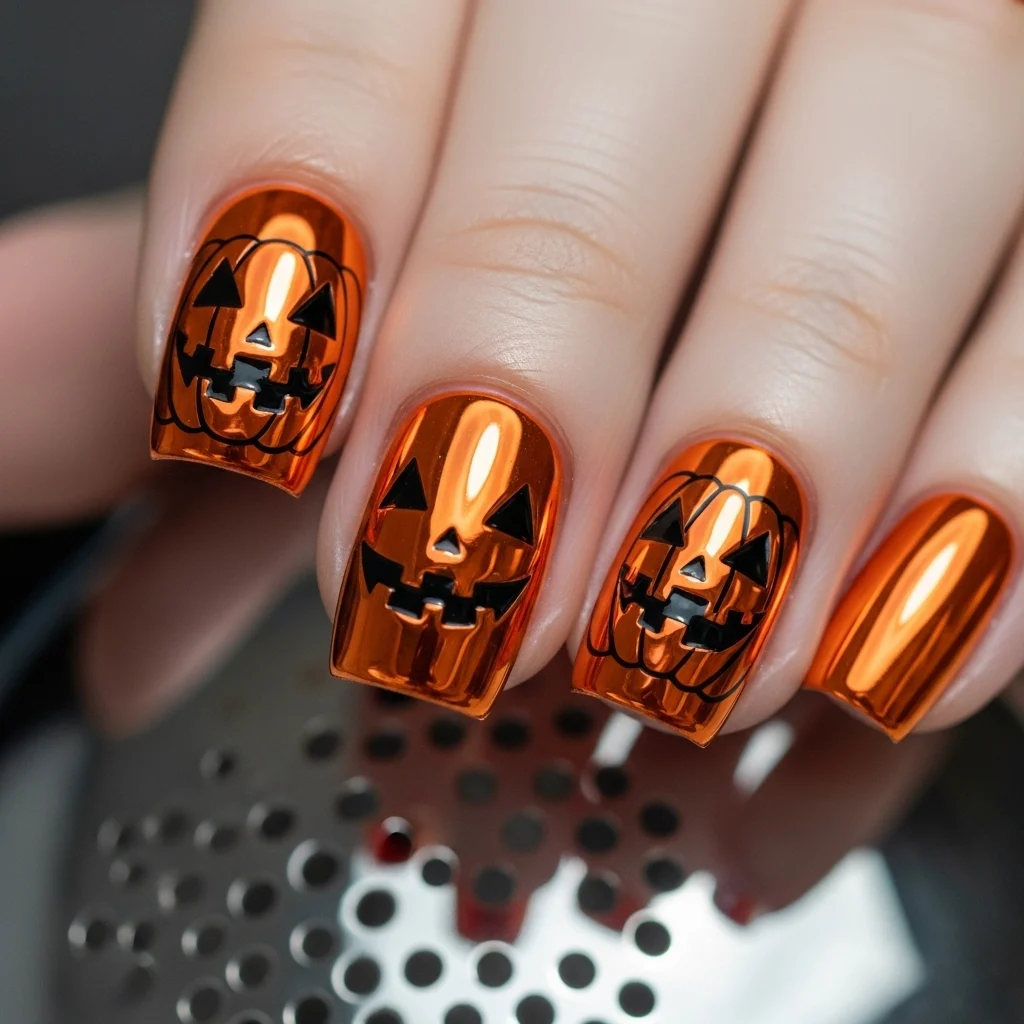
Seal the orange gel base with a coat of chrome powder by using the powder technique—wiping the powder onto the tacky gel polish layer until you get that shiny finish. Look at this. Paint plain jack-o’-lantern faces with black gel paint on one or two nails. The shiny finish looks amazing in the flesh and takes amazing photographs under any lighting.
7. Gothic Lace Overlay
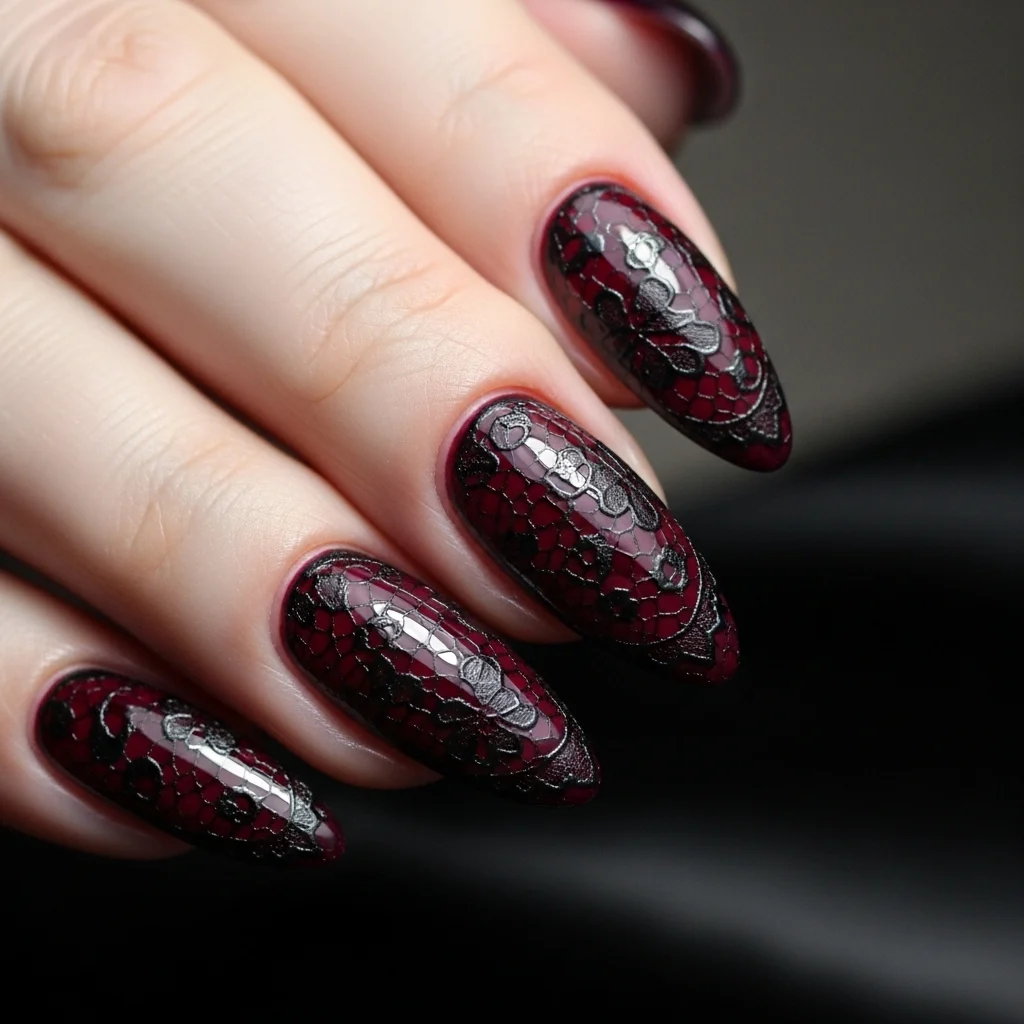
For a more sophisticated Halloween appearance, gothic lace designs create an elegant spook.
Start with a dark burgundy, wine red, or black basecoat. Use a lace patterned stamping plate or a fine brush and apply a black lace detail design over the nail. The design will be subtle and dainty, straight out of Victorian mourning jewelry. The appearance is an amazing complement to gothic witch or vampire fashion and appears amazing throughout November’s darker look.
8. Glow-in-the-Dark Skeleton Hands
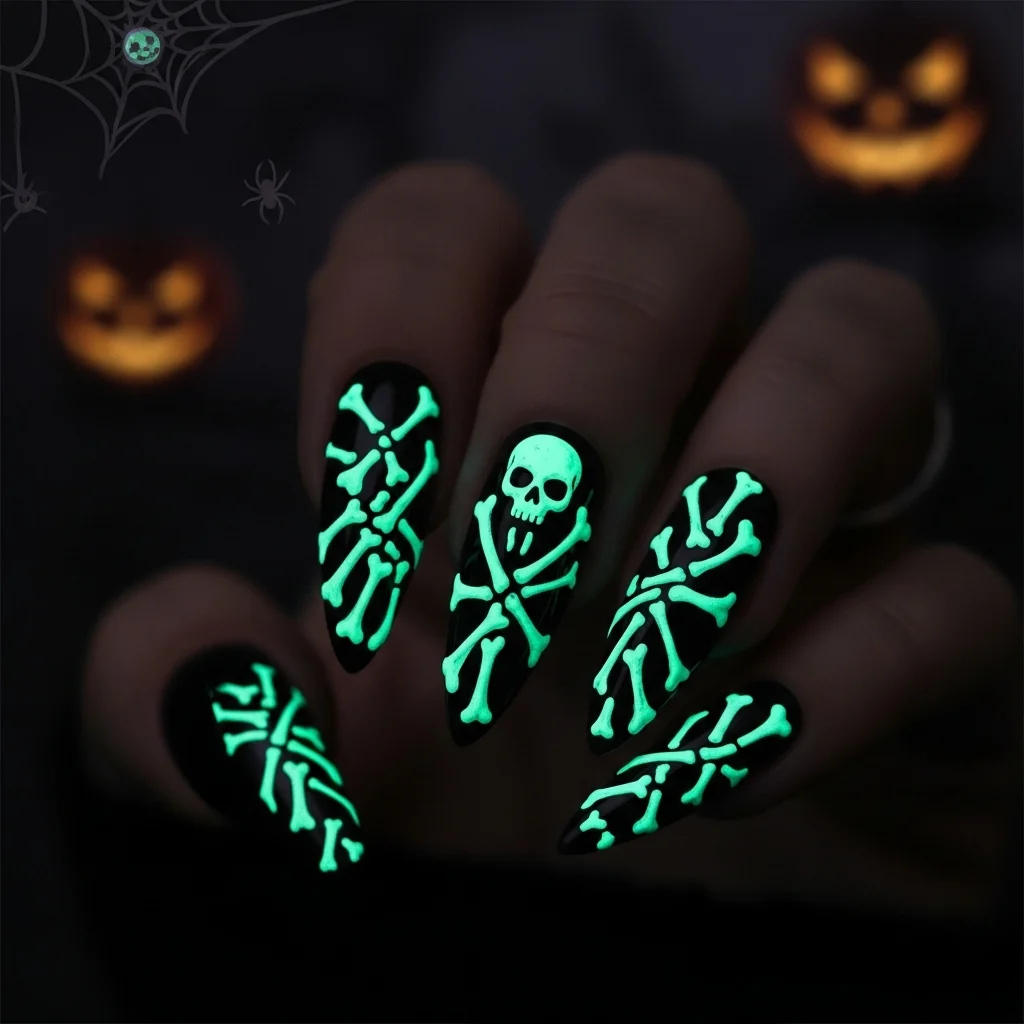
Apply a black polish base coat to your nails, then cuticle paint bone fragments using white glow-in-the-dark polish—thick stripes down the center of each nail with little horizontal lines creating the joints of the finger bones. They appear like normal white bone prints during the day, but they glow like bones under ultraviolet light or in darkness, as bones that will impress all the party attendants during Halloween parties.
9. Autumn Graveyard Scenes
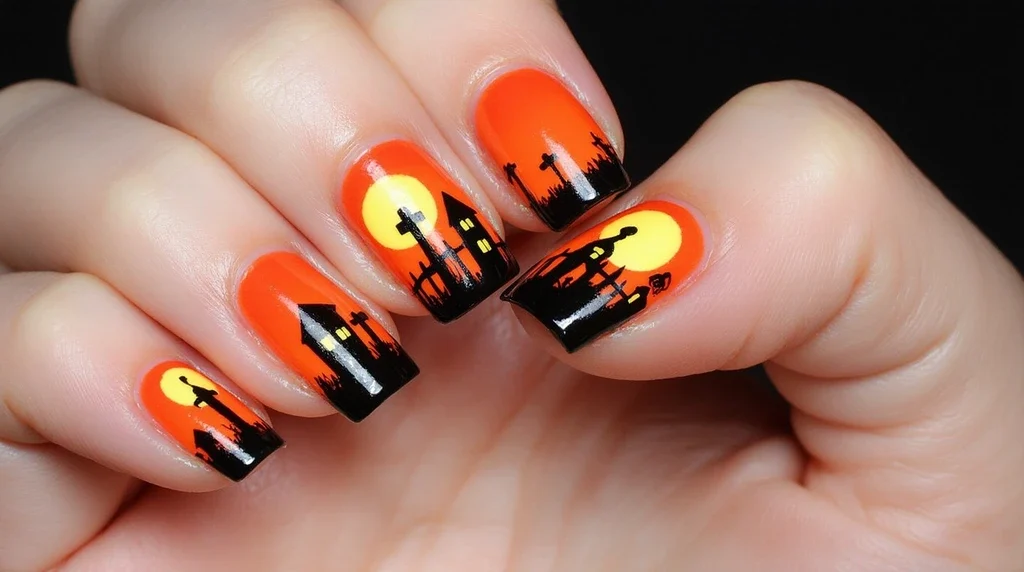
Design. Miniature landscape scenes with graveyards, skinny trees, and full moons. Paint an orange gradient background from the cuticle to dark purple or black tips to represent. a fall sunset. After it dries, paint a rough graveyard shape with black. Polish—square headstones, arched tree branches, and a circle for the moon. This supply provides. flexibility with no variation on all ten nails when all are doing the same scary story.
10. Holographic Witch Hat Tips
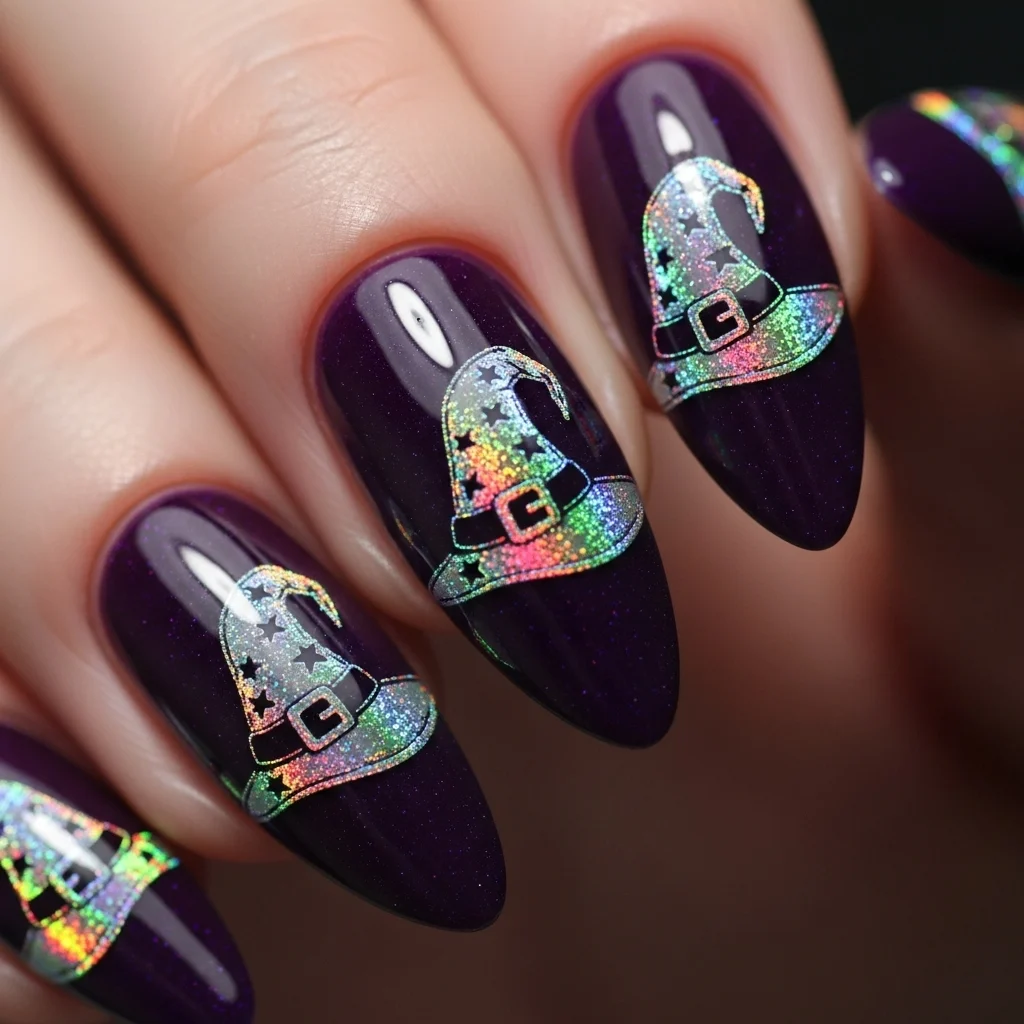
Cut out tiny witch hat shapes from holographic vinyl or nail stickers, or freehand paint them carefully in a purple or black background. Position the triangle hats unevenly on several nails for a spooky, sloppy appearance. The holographic finish provides a mystical, ethereal sheen that highlights the mystical aspect of witchcraft. This is good for those who don’t wish to strain their eyes with very complex designs.
11. Bloody Newspaper Print
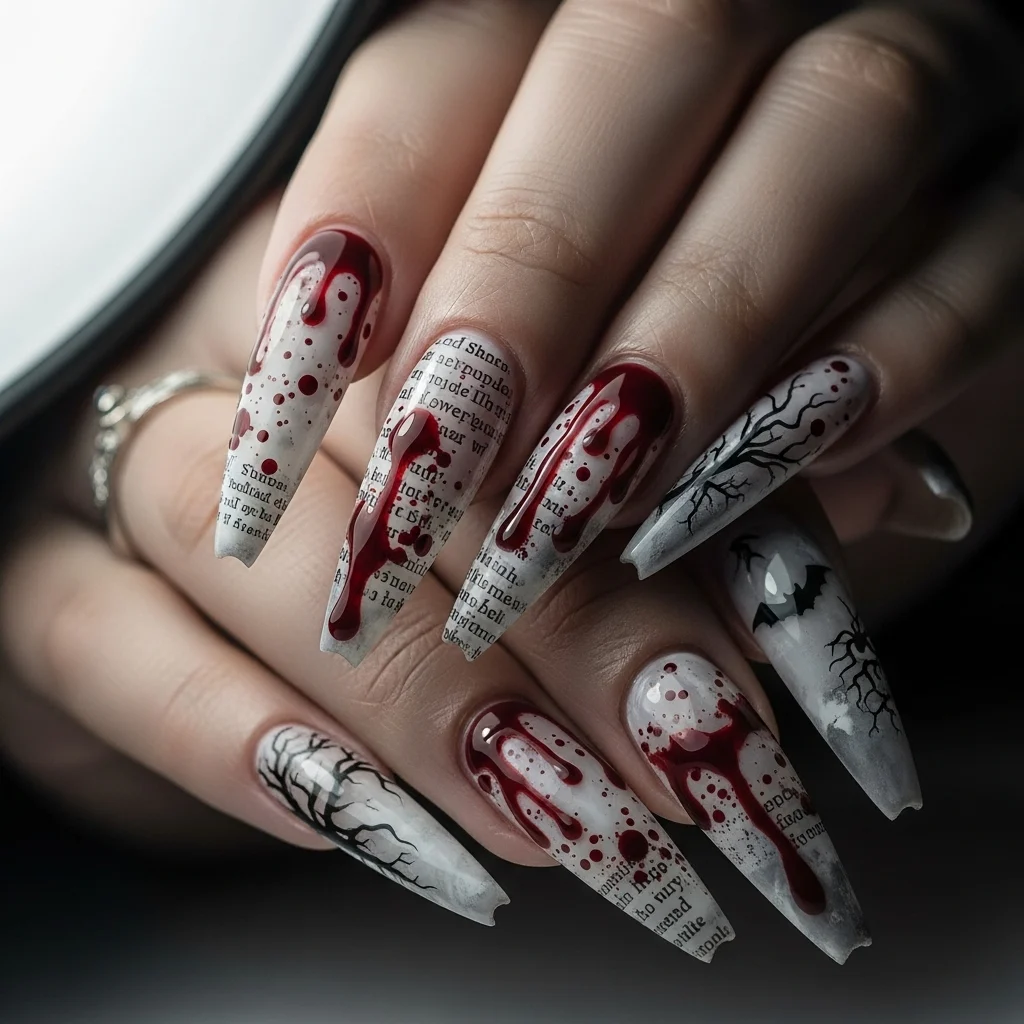
This advanced technique causes nails to look as if they are smeared with bloody newspaper print. Base nails with light gray or off-white color paint. Allow to dry, then place actual newspaper or typed text on nail with rubbing alcohol to pick up print. Topcoat when dry. Red polish splatters painted with a straw or a fan brush create blood spatter designs. The combination of mundane print and bloody gore is a scary, over-the-top horror nail.
12. Neon Green Witch’s Brew
Transform classic Halloween colors into electric neon green that glows when exposed to black lights.
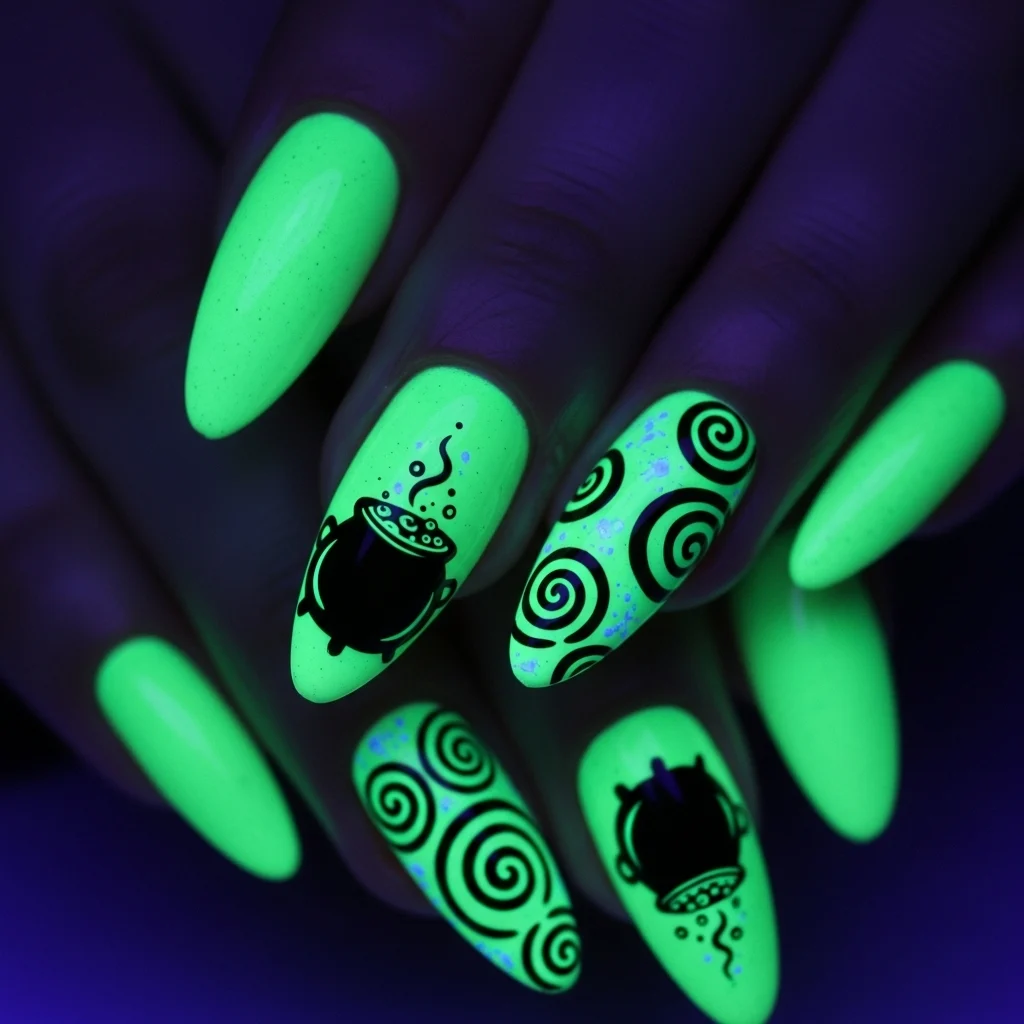
Apply two layers of neon green polish and top with whirly black details, such as bubbling potions in a witch’s cauldron. A thin brush is ideal for whirly patterns, tiny bubbles, and ghostly wisps that seem to bubble up from the underside of the nail to the tip. This dramatic, edgy appearance is ideal for individuals who love being the center of attention at Halloween parties.
13. minimalist moon phases
Create a whimsical, starry Halloween nail art by painting a succession of phases of the moon on black or dark blue.
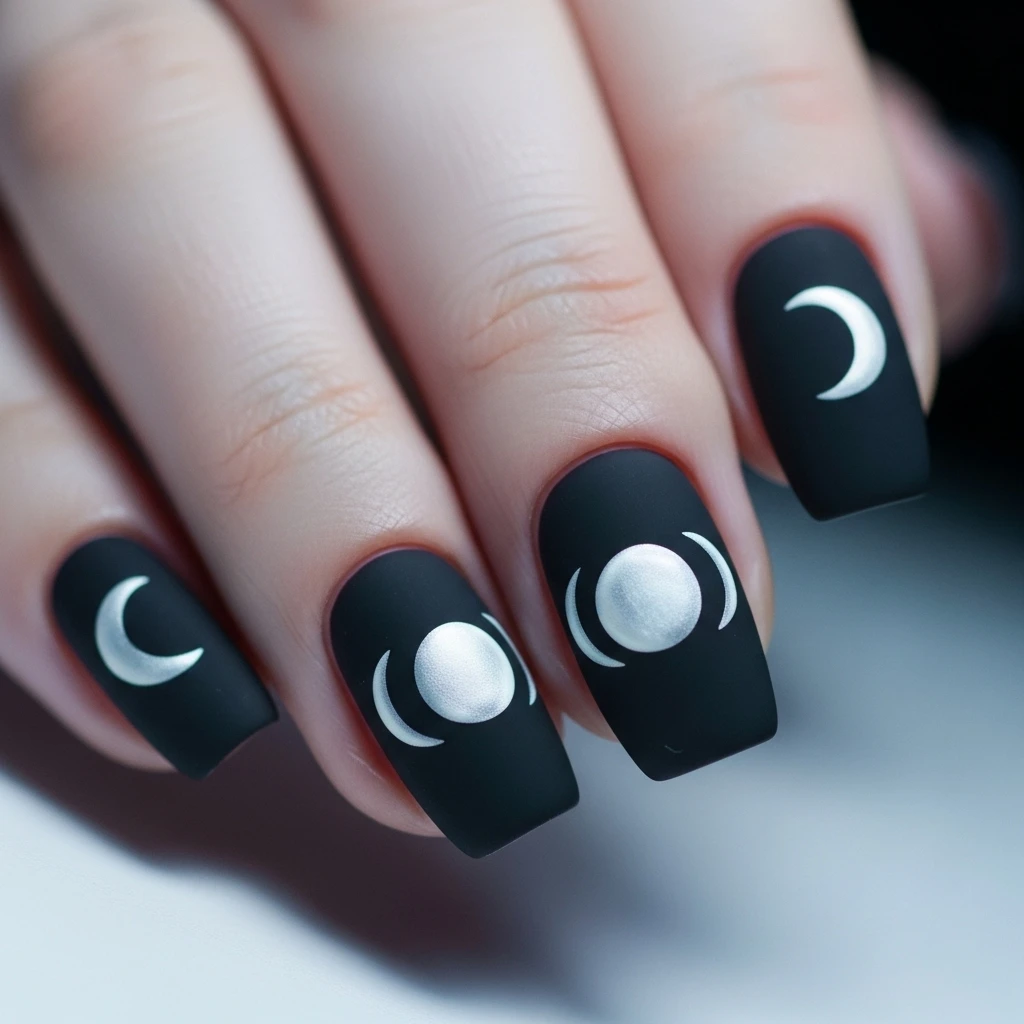
Outline the new moon, waxing crescent, first quarter, full moon, and waning phases using white or metallic paint. The outcome is office-beautiful perfection for witches and for astrology enthusiasts. The accuracy required is slightly more challenging, but the silky smooth finish is worth the additional effort.
14. Tortoiseshell with Gold Flake
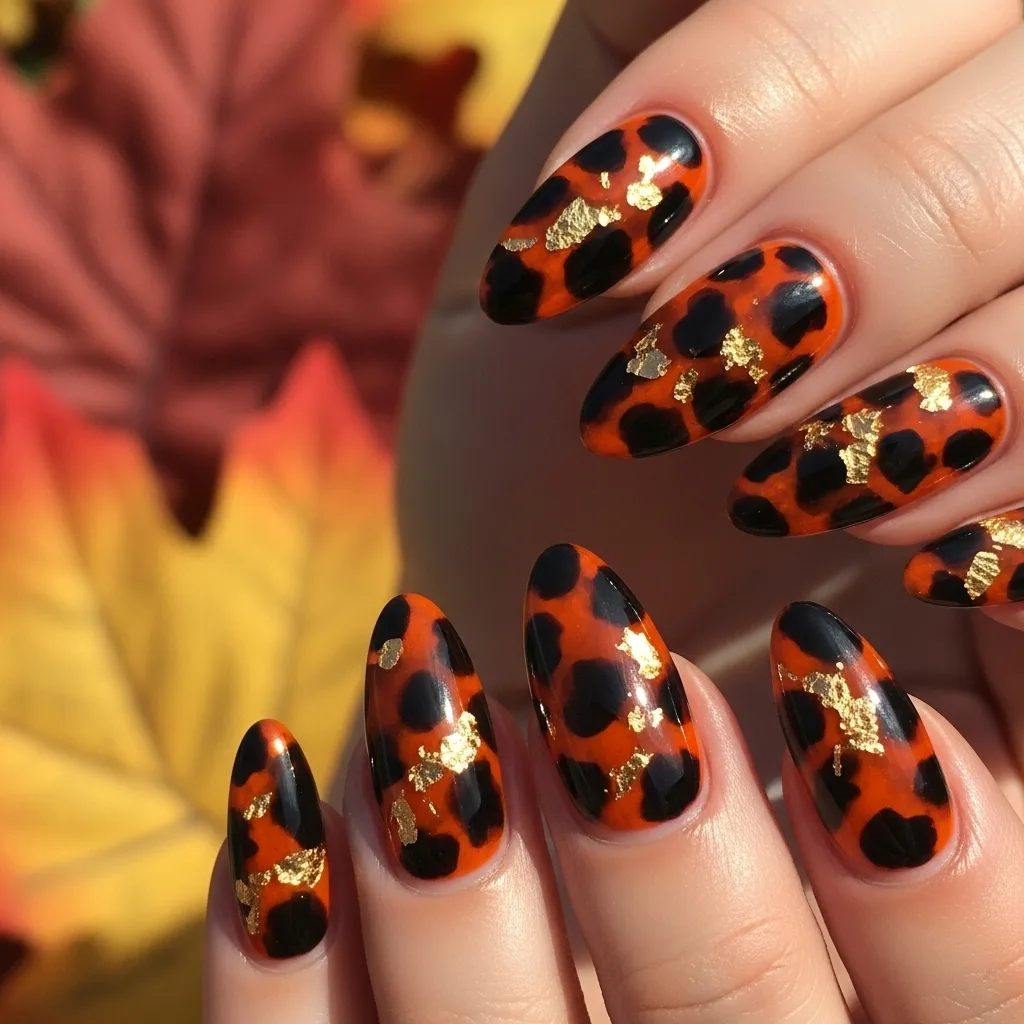
Rich and sophisticated with vintage Halloween hues in tortoiseshell pattern—burnt orange, brown, and black mixed together in nude or clear lacquer. Randomly sprinkle small gold leaf flakes on some of the nails after allowing the polish to dry for a high-fashion, sophisticated look. The natural texture of the coarse tortoiseshell, paired with a metallic accent, gives nails that are Halloween-acceptable in fall colors but not costume-based.
15. 3D Cobweb Texture
Apply specialized textured polish or build up cobwebs in raised layers using heavy gel polish.
Begin with a black, purple, or orange base coat and pipe webbing patterns with gel polish diligently, curing between coats to achieve height. The three-dimensional appearance of such nails is extremely tactile and dramatic to look at from all sides. This is a UV/LED lamp available method if gel is utilized, though the dramatic effect is worth it for devoted nail artists.
16. Vampire Bite Marks
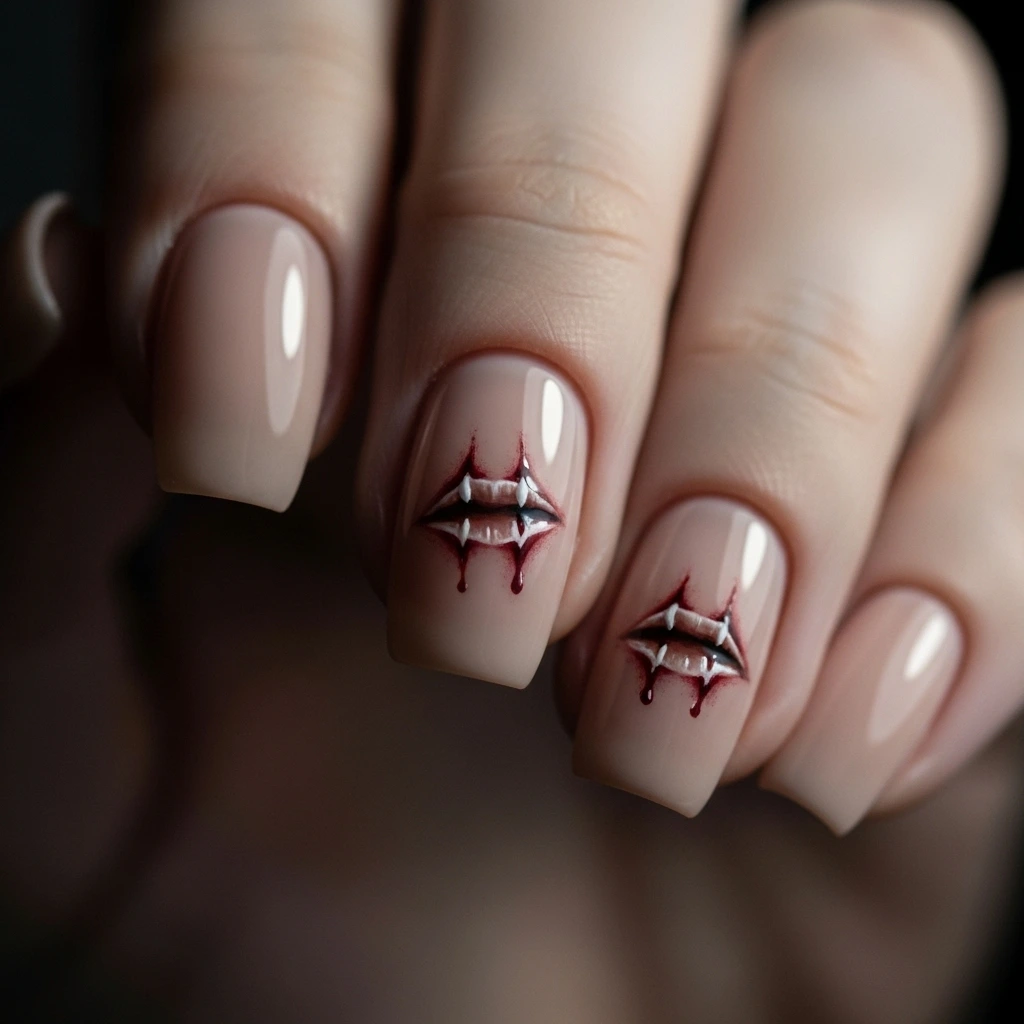
Create realistic puncture wounds on a nude or pale pink ground to simulate skin. Create two tiny red spots together, and shadow around them with a light purple shadow to achieve the bruising effect. Add tiny streaks of red flowing from the “bite” for blood drips. The gruesomeness effect was eliminated, but a dark sense of humor was retained.
17. Poisoned Apple Red with Black Accents
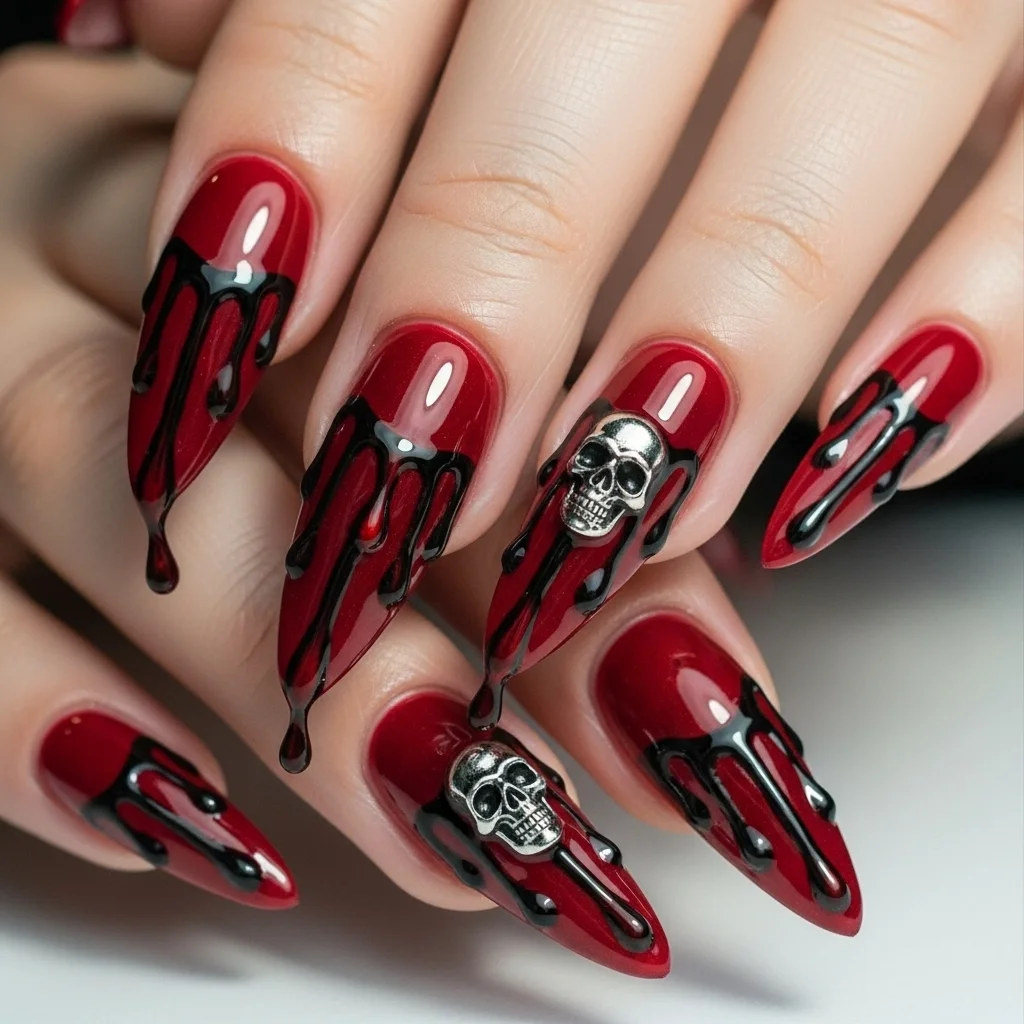
Recall Snow White’s dark past with shiny candy apple red nail polish and black details. The red must be deep in color and completely opaque. Paint tiny black details such as drips, drops, or itsy-bitsy skull marks on accent tips. Ooey-gooey red and wicked black look great together on anyone oozing dark fairy tale attitudes this Halloween.
18. Iridescent Bat Wings

Apply purple, blue, and green shifting iridescent top coat for an enchanted background with simple black bat silhouettes flying on solo nails. The bats must be thin and small—simple wing shapes with teeny tiny wee bodies. The glittery background tricks the eye into thinking the bats are flying through an azure sky filled with moons. This nail art photographs well because the color change makes various appearances under varying light conditions.
19. Stitched Monster Pieces
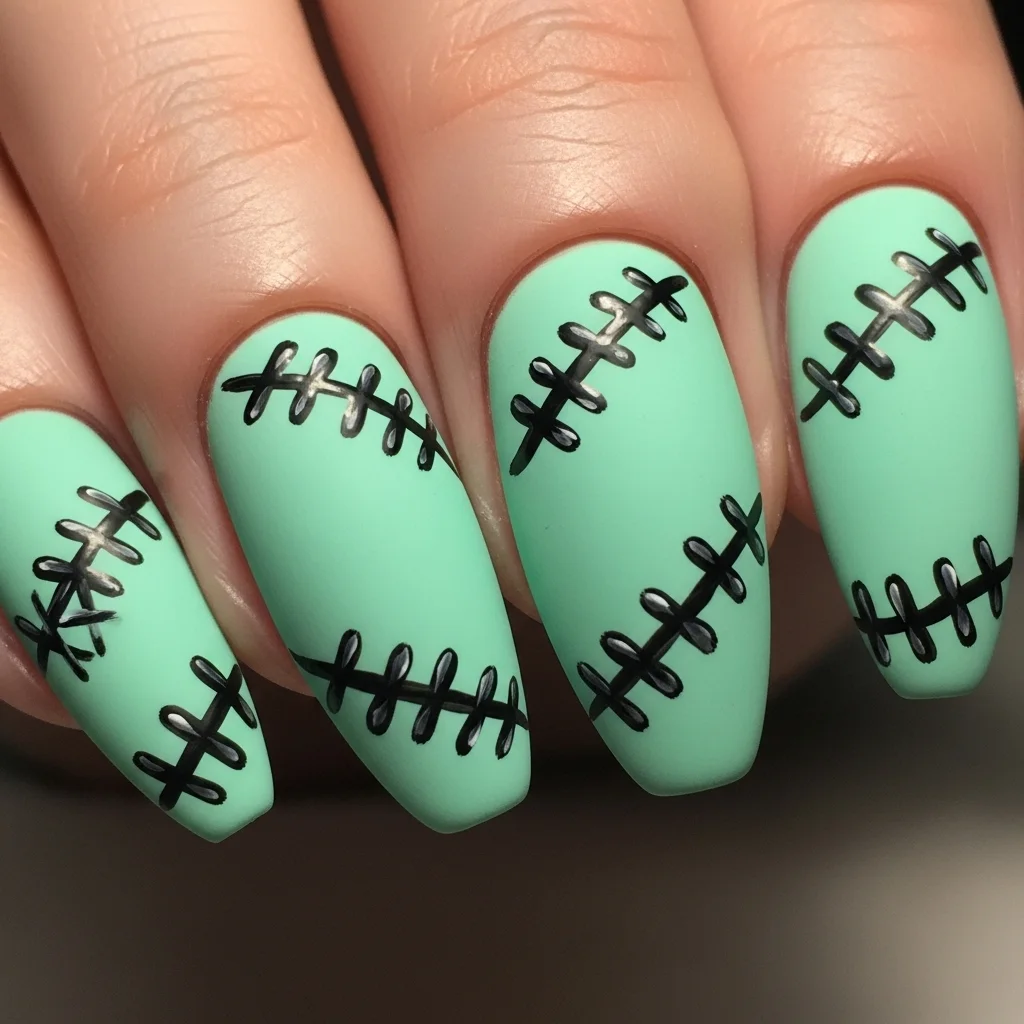
Get a tip from Frankenstein’s monster and create nails that look like stitched-on pieces with a gray or mint green background color. Paint thick black stitches horizontally on each nail using a detail brush—uneven X marks or dotted lines are best. The photo-perfect look will not cut it here; disgustingly straight stitches will never attain that Frankenstein-stitched-together look. One is surprisingly simple to create but delivers a huge Halloween wallop.
20. Black Flame Candles
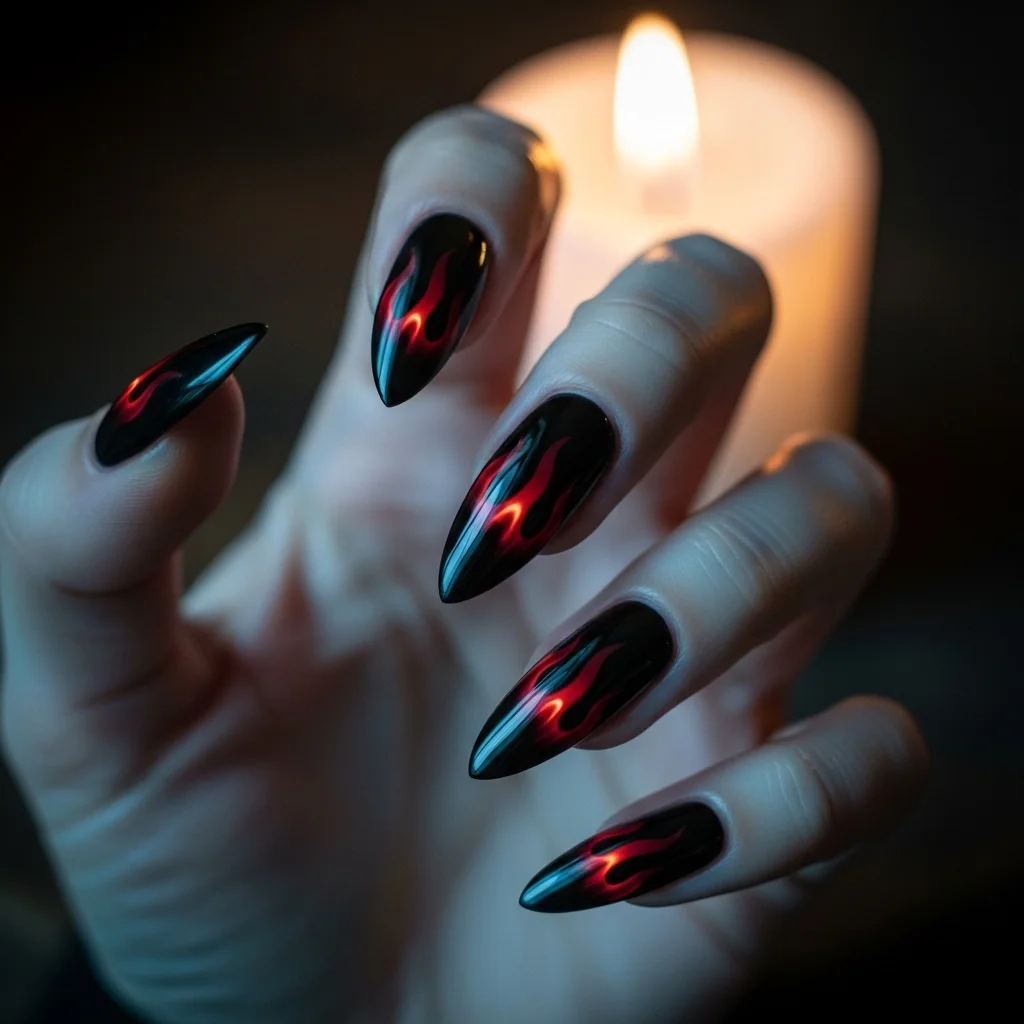
Greet Halloween cult film staples with hypnotic candle flame nail art designs.
Paint nails black, and create unique flame designs in purple, blue, and green, climbing from the cuticle to the tip. The flames must shine eerily—paint lighter shades at the center of the flames and darker shades near the edges. Gradate color soft where they intersect for a light, airy effect. Add a pinch of tiny gold glitter in the flame to add magical embers and dimension.
These 20 designs show how Halloween nails can be as eclectic as the holiday itself—cute and fun, seriously creepy, simple to highly detailed.
The secret to beautifully crafted Halloween nail design is choosing designs that are appropriate to your ability and the amount of time you can afford. Don’t be afraid to steal a little bit from several different styles and put something new together, and don’t worry when the first attempts come out a little crooked—practice does make perfect. With these tips in mind, your fingers will be fashionably attired for the most frightful time of the year.RepeatClaude sometimes makes mistakes. Check answers.